Dear Reader, in this age of AI created content, please support with your goodwill someone who works harder to provide the human-made. Sign up at the top of the lefthand column or bottom of this page. You will receive my hand illustrated monthly newsletter RESTORE NATURE and access to the biodiversity garden design course as I write...and nothing else, I respect your time. I am also removing the advertizing as best I can as its become intrusive inappropriate and pays me nothing.
Growing jalapeno peppers from seed collected in the kitchen
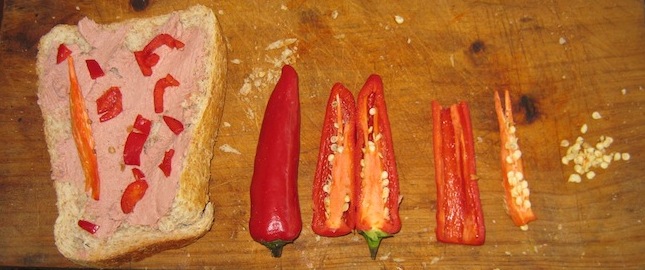 harvest seed in the kitchen for growing jalapeno peppers
jalapenos add a little fire to liver spread,
and the seeds can be harvested too
Growing jalapeno peppers from seed collected in the kitchen after eating is simple and easy.
The information in this article about growing jalapino peppers can be applied to most chili varieties we have grown. Chilis are another one of the very rewarding food plants, and a must in the garden for cooks favoring the fine cuisine originating in many of the hotter countries in the world. In our experience they do well in pots and in the garden in high summer. Many chili plants can overwinter in our climate too. They must be heavily pruned at the end of the season.
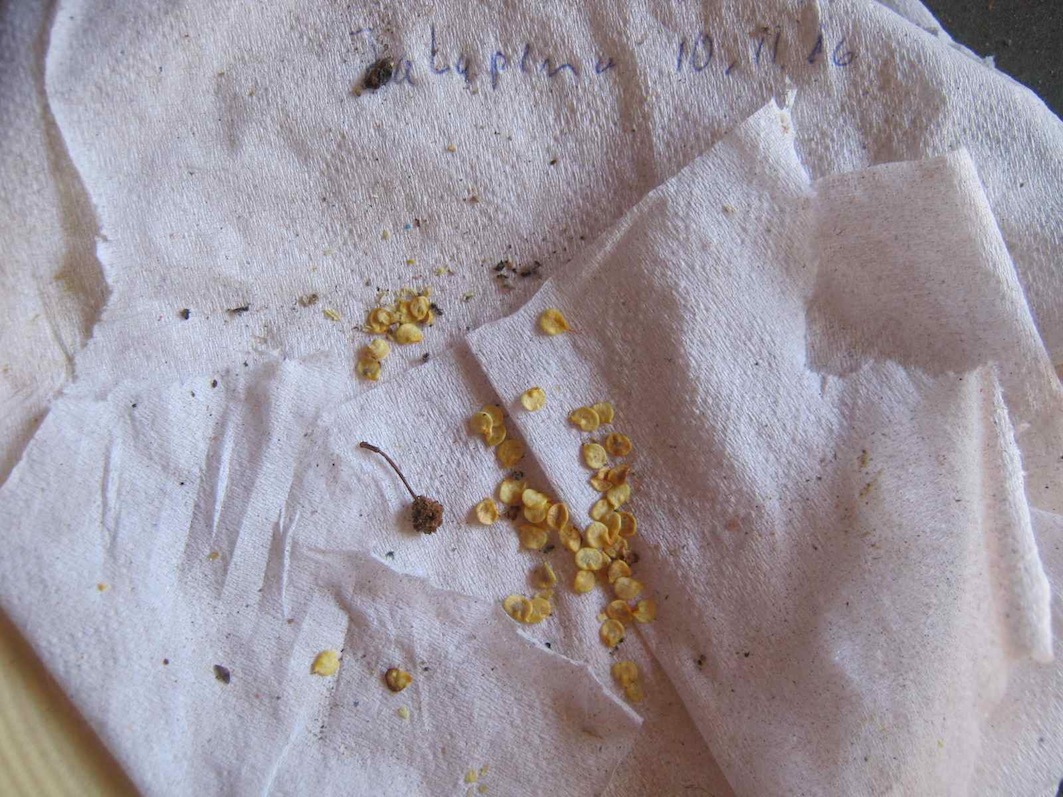
dry the seeds harvested in the kitchen first
before growing jalapeno peppers
Here I will show you how easy it is to harvest seed from jalapeno peppers and other chilies bought at the vegetable shop. Use the same method as that for growing jalapeno peppers for any type of chili. First select flawless chilis, with the properties you consider desirable such as flavor. Choose a very ripe chili. Slice it open and extract the seed removing all the pith which could possibly decay. Place the seeds on tissue paper on a plate, in an airy, shaded place where they will not get rained on. We dried them on a shelf in the garage, which has no door.
 |
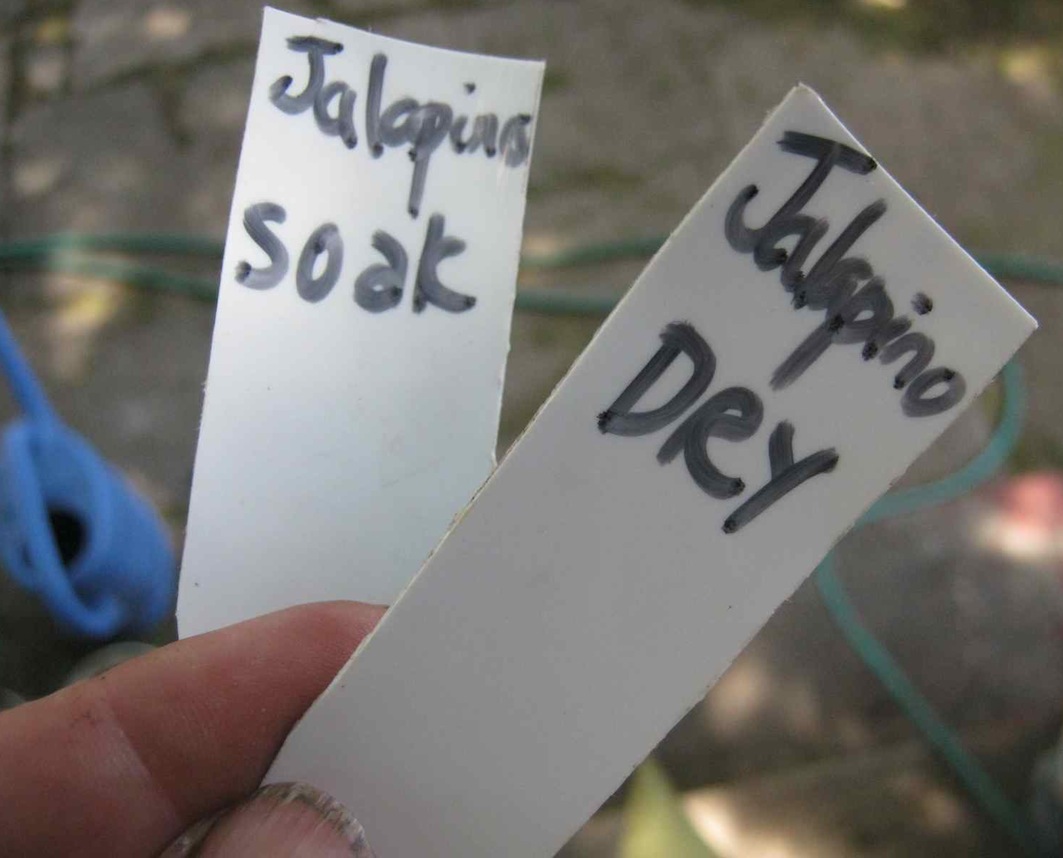 |
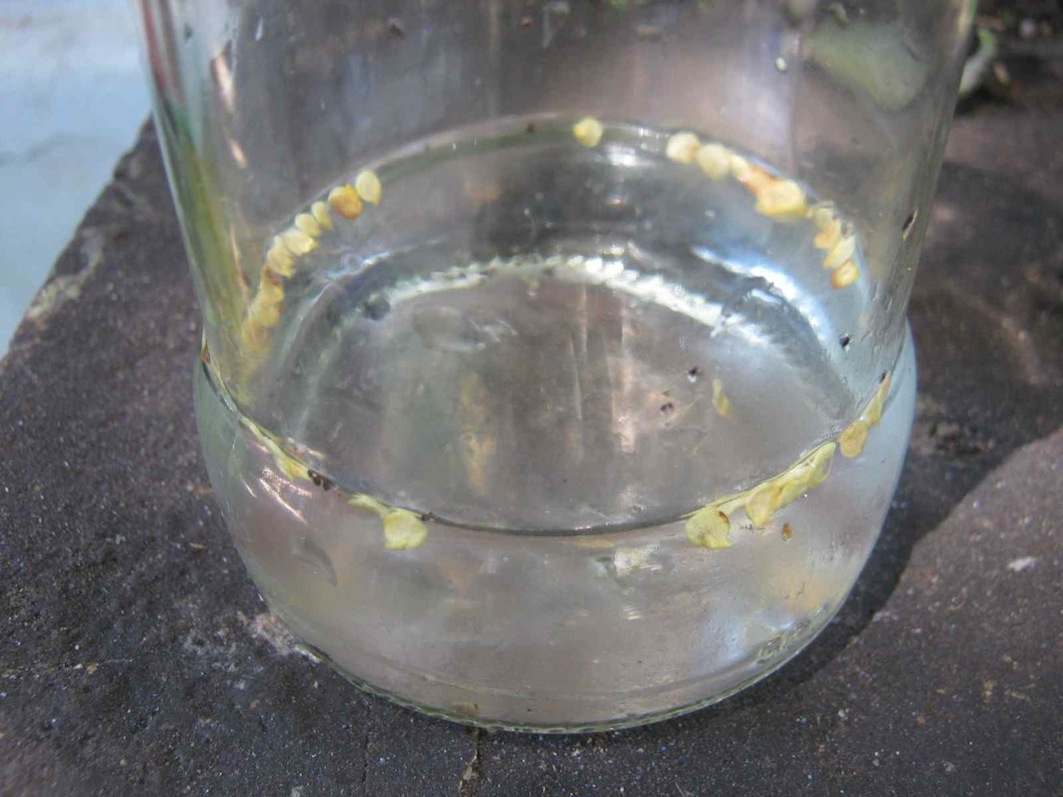
we soaked half the seeds for a day and then sowed them
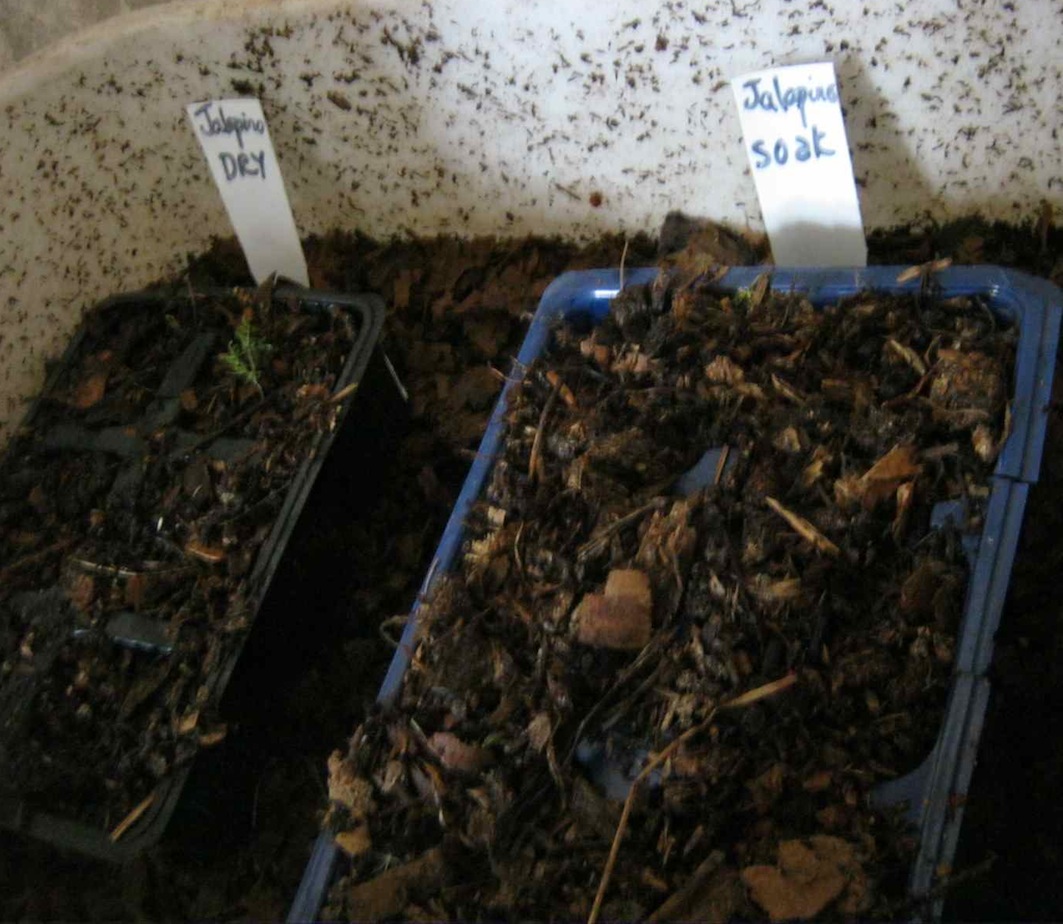
After they are dried, sow the seed in trays of your choice. We tried an experiment with soaking half the seeds overnight before sowing and leaving the others dry to see the effect on the time to germination and the numbers of germinated seeds.
  |
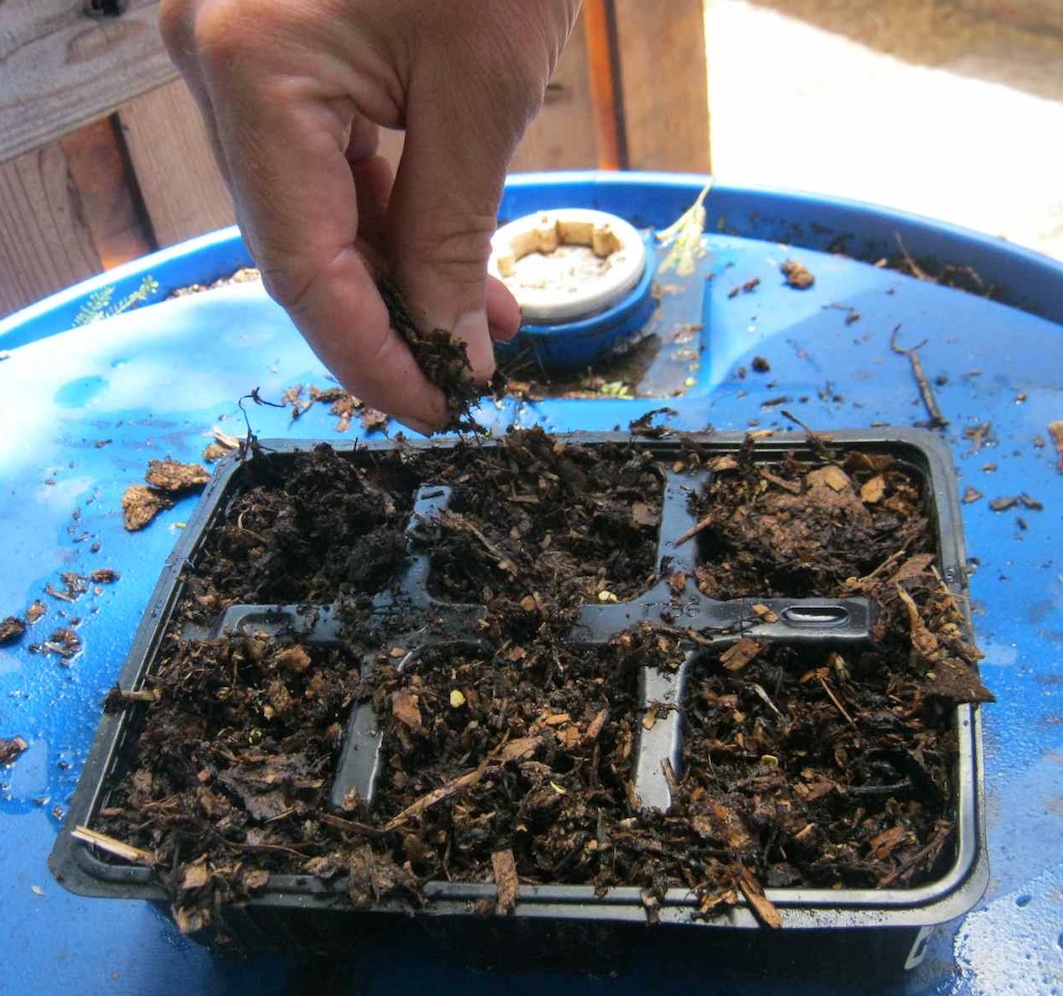  |
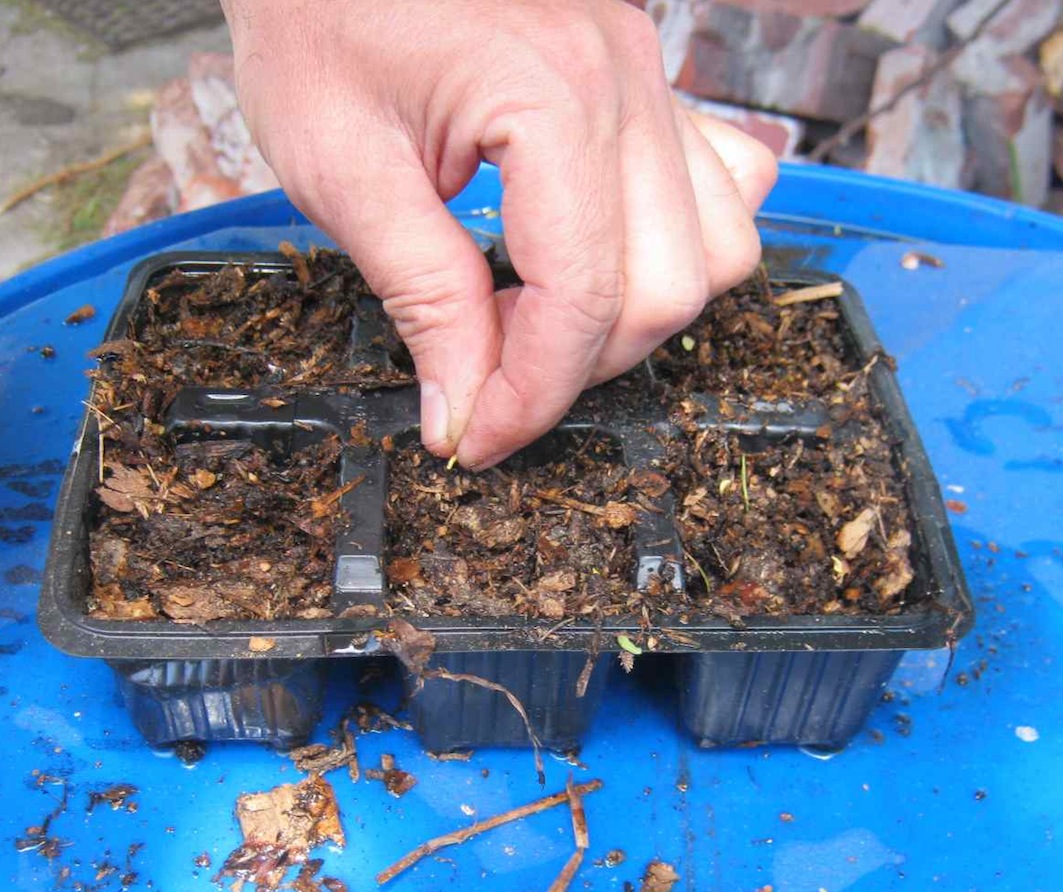
sow the jalapeno pepper seeds, cover with 3 mm of fine loose soil,
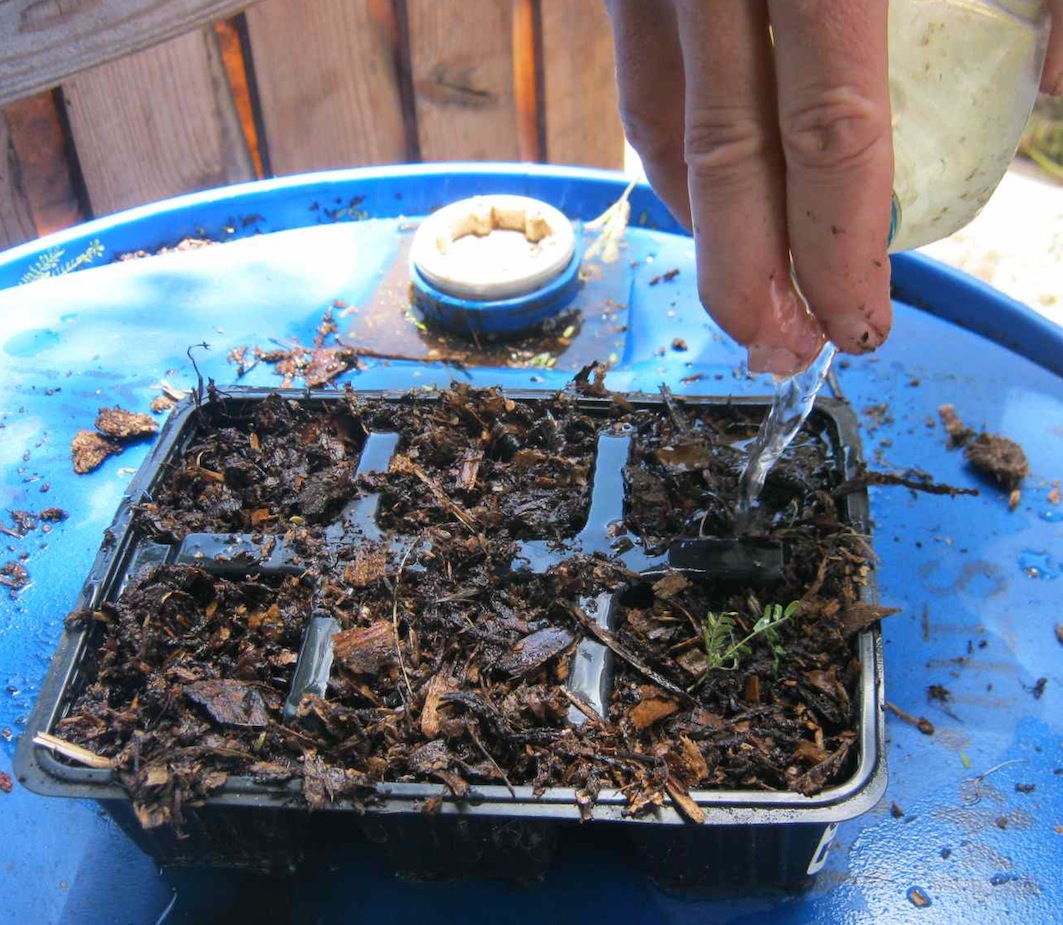
water very gently and place in the stable atmosphere
of the worm bin if you have one, or cover with plastic
The next day we sowed the seeds in separate six packs. First water the soil in the tray and then sow. We dropped only five seeds in each six-pack compartment. Use well rotted compost, or a sand and compost mix. We used pure compost as we have a lot of it at the moment. Cover the chili seeds with a thin layer of soil. As a rule when sowing seed, which I learned from my permaculture teacher, Karen Parkin, the covering layer, or the depth of the seed in the soil, should be the same as the greatest length of the seed, so we covered the chili seeds in roughly 3mm of soil.
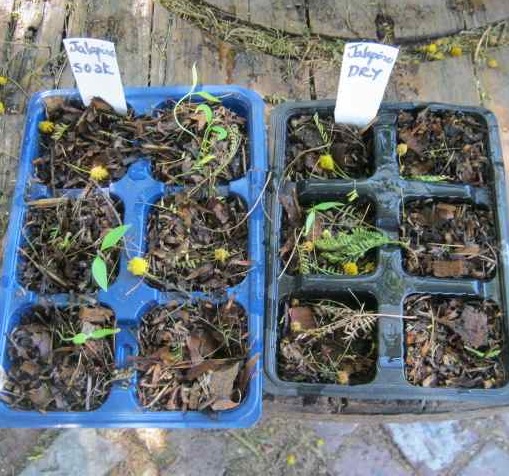
germination rate 4:1 twenty days in
The soaked seeds were planted on the 20th and the dry on the 19th, both seed trays were kept in the same compartment of a worm bin. The first two soaked ones and the first dry seed germinated and emerged on the 26th January, meaning that the soaked seeds are coming up in greater numbers and a day sooner than the dry seeds which are taking 7 days.
On the 31st there are 4 up in the soaked and one in dry six packs.
The latest report from the exercise with growing jalapeno peppers is on the 10th of February 2017. They have been removed from the worm bin’s cozy stable warmth and humidity onto a table in the garden under the acacia, and the ratio of soaked to dry seed’s germination is 5:1 ! This means 1/6th of the soaked seeds germinated and for the un-soaked seeds about 1/30th germinated (we planted 30 per tray roughly, 5 in each pocket in the six pack). 20 days after sowing, in warm weather, the seedlings still sport only their tiny pointed seed leaves so typical of tomatoes and chilies. So soaking does improve the percentage of germinated seeds four to five times, but the speed of germination is only slightly improved, and subsequent growth not much affected.
 |
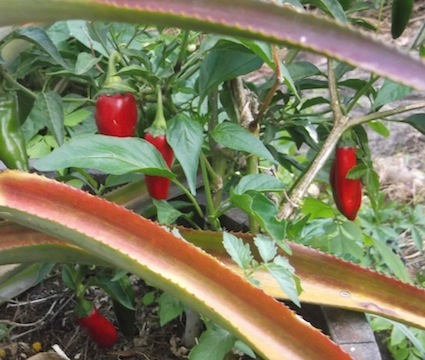 |
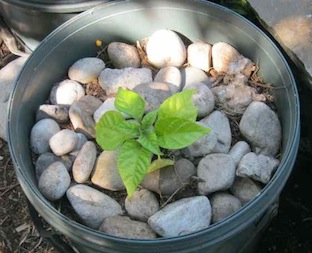
chili mysteries: a seedling with ribbed leaf, either Reaper or Chocolate B J, in pebbles to stop the thrush scratching, and the mild 'red thumbs' which is still good, flourishing last year
Apparently the hotter the chili, the longer they take to germinate, as a rule of thumb, and they generally germinate slowly, taking up to six weeks to emerge. The plants also grow slowly, and are perennial, and must be cut back annually, but there will be more on their culture in another article.
We can compare these results from growing jalapeno peppers to 8 other attempts to grow chilies. Stephan has also sown seed collected in the kitchen for 5 other chili types. The Cayenne chilies germinated well, as did the mild chili the size of a small grape, and another mild chili with longish thumb size fruit. These two mild chilies are now in their second summer of bearing. Bishop's crown and Habanero were also sown this year, but the labels got mixed up so we have to wait to see the fruit to know which were more successful.
The commercial seeds bought had mixed results. A packet of Habanero seeds from the nursery never germinated. The 5 Carolina Reaper seeds and the 5 Chocolate Bhut Jolokia seeds we got from a mail order company, Seeds for Africa, both appear to have come up, one and two seedlings of the two varieties, but once again their is confusion about their identity till they bear.
------
home page for more natural gardening inspiration
------
growing vegetables the low cost eco friendly way
------
------
Karin Parkin, seed sower extraordinaire
Restore Nature Newsletter
I've been writing for four years now and I would love to hear from you
Please let me know if you have any questions, comments or stories to share on gardening, permaculture, regenerative agriculture, food forests, natural gardening, do nothing gardening, observations about pests and diseases, foraging, dealing with and using weeds constructively, composting and going offgrid.
SEARCH
Order the Kindle E-book for the SPECIAL PRICE of only
Prices valid till 30.09.2023
Recent Articles
-
garden for life is a blog about saving the earth one garden at a time
Apr 18, 25 01:18 PM
The garden for life blog has short articles on gardening for biodiversity with native plants and regenerating soil for climate amelioration and nutritious food -
Cape Flats Sand Fynbos, Cape Town's most endangered native vegetation!
Apr 18, 25 10:36 AM
Cape Flats Sand Fynbos, a vegetation type found in the super diverse Cape Fynbos region is threatened by Cape Town's urban development and invasive alien plants -
Geography Research Task
Jan 31, 25 11:37 PM
To whom it may concern My name is Tanyaradzwa Madziwa and I am a matric student at Springfield Convent School. As part of our geography syllabus for this
"How to start a profitable worm business on a shoestring budget
Order a printed copy from "Amazon" at the SPECIAL PRICE of only
or a digital version from the "Kindle" store at the SPECIAL PRICE of only
Prices valid till 30.09.2023
