Dear Reader, in this age of AI created content, please support with your goodwill someone who works harder to provide the human-made. Sign up in the righthand column or bottom of this page. You will receive my hand illustrated monthly newsletter RESTORE NATURE and access to the biodiversity garden design course as I write...and nothing else, I respect your time.
Home brewed vinegar made with foraged fruit
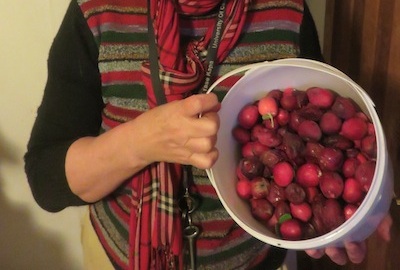 About to make home brewed vinegar with Numnum berries
This page will record the home brewed vinegar I've made from various fruits. I've used quite a few already but my production was rather ad hoc. I've since read up on the proper four stage process and decided to time it properly. Nonetheless most of my experimental efforts from last year produced delicious vinegars.
The fruit I've used for home brewed vinegar
I've made vinegar with various fruit and I'll describe the differences in their need for sugar, yeast and extra liquid.
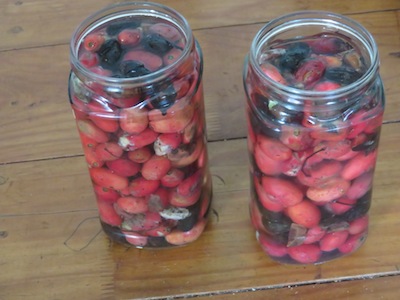 Exquisite wine, then indifferent vinegar with wild plum
native 'wild plum'
I've made vinegar with Harpephyllum caffrum (a native wild plum) that I swept up off the street in Goodwood. The plant is native to the eastern regions of South Africa, is very hardy and used in my area as a street tree. The fruit is slightly milky, extremely sour, and forms a thin layer between the large seed and the leathery skin of the fruit. During the primary fermentation the aroma was exquisite, but it did not age that well and bleached out and lost its distinctive characteristics. Carissa macrocarpa or Numnum I've made before and I'm making again so I'll deal with the current batch below.
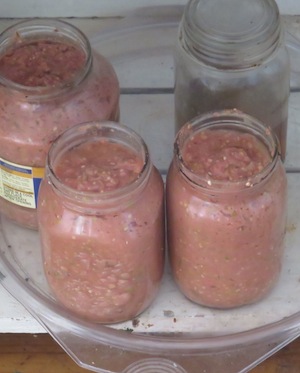 guava pulp in primary fermentation
Home brewed vinegar with guava
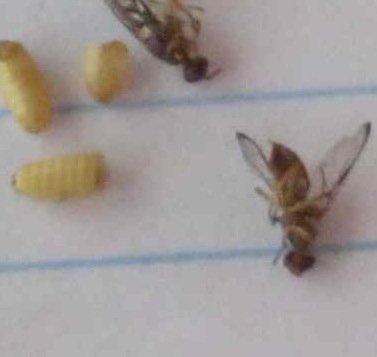
The Guava vinegar was made with windfall fruit in my garden. It was ridden with fruit fly larvae and half decomposed sometimes. Nonetheless it made a fine special perky vinegar with a crazy pink colour that was used up very quickly in the kitchen for salads. I picked up the fruit, ran it through a blender and added sugar. I don't remember if I added water. It needed no extra yeast, and formed a punchable crust every day during the primary ferment.
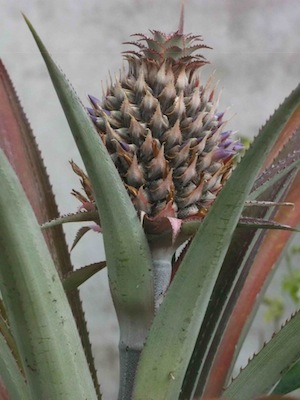
Home brewed vinegar with pinapples
Pineapples have a strong yeast of their own. I chopped up the fruit coarsely, added sugar and water and the brew soon began to produce copious amounts of white froth. When this died down I strained and bottled it. The pineapple has aged very well and adds distinction when replacing balsamic vinegar in some dishes like the butternut and caramelized onion pie I made recently. It tastes deliciously fruity and still smells of pineapples, and I use it with some discretion because of its unique flavor. I made it from about 20 pineapples I salvaged from the skip at Epping Market.
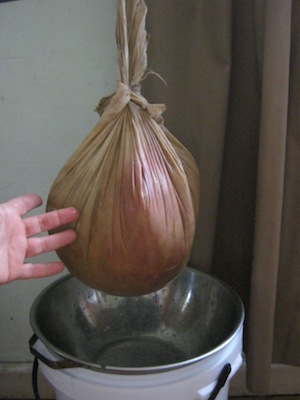 Pear mush in a Numnum stained cheesecloth
Pear vinegar
The pear vinegar was also made from Epping Market waste. There were a lot of them, perhaps six boxes full, eventually making 20 litres. I can't remember if I added water, but I did add some sugar and had to add yeast from the pineapple ferment as the pear fermentation got very stuck. The pears had been greenish. Working with such large quantities is so different to working with one liter of fruit. The blending to make the fruit pulp took ages. The fruit pulp was heavy and burst the bag I was straining it with. With one to five litres of vinegar, the tasks required during processing take so little time I was under the illusion that vinegar production was very low maintenance and got excited about the commercial possibilities. With twenty litres, every stage turned into a half day project with lots of cleaning up afterwards. Its been worth it though. The pear vinegar is the finest, distinctively pear, delicate and flowery in aroma, less sharp than apple.
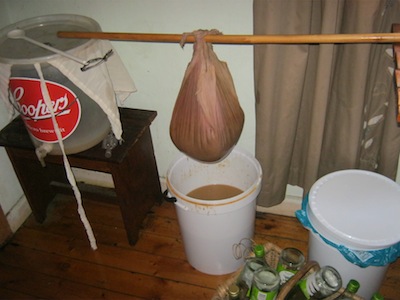 The pear mush shortly before the bag burst
The four stages in making a home brewed vinegar
When making vinegar the proper way with fruit there are four stages. First you make a fruit wine, with primary and secondary alcoholic fermentation. Then you do the vinegar fermentation and the aging. They run through an aerobic, anaerobic, aerobic, anaerobic sequence. With vinegars made from beer there are at least six stages. Fine vinegar making is complicated, like wine making, and having studied wine appreciation with the Cape Wine Academy, I delighted in the process.
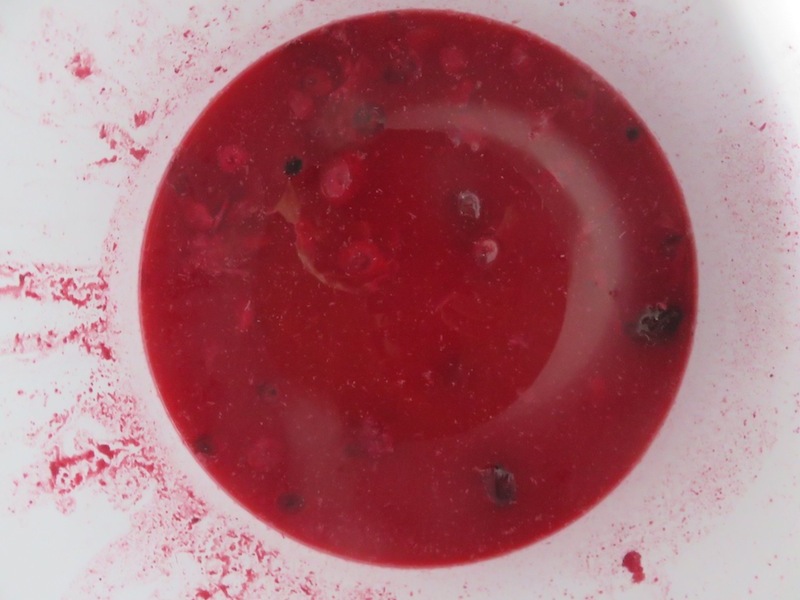
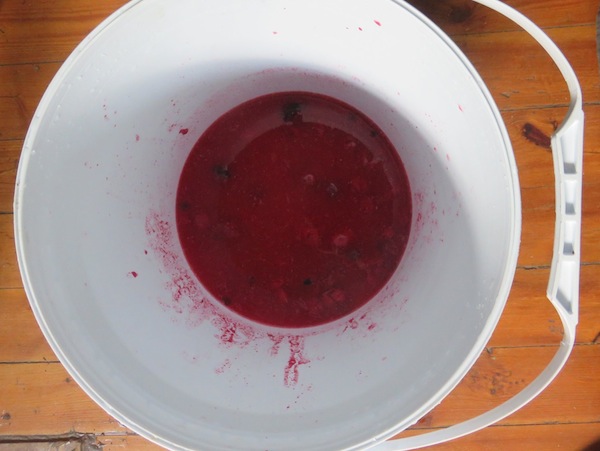 open primary fermentation of Numnum berries
Primary fermentation
The primary alcoholic fermentation needs some oxygen. I brew the fruit in a large 5 litre bottle or in a food grade bucket. The Numnum is going well. I just mashed the fruit with a potato masher, added about half a cup of sugar to 5 litres of ferment, and added an equal amount of water to fruit pulp. Its brewing so well I have to punch down the solids every day, to make sure they don't form an anaerobic crust and so that the fruit flavors have a chance to leach into the ferment. I will strain off the fruit after one week, and then after two days strain off the course lees. Both of these can lead to off odours when the fruit or fruit fragments in the lees rot. The fruit will then ferment for another 5 days before the next stage.
 Numnum fruit not only make unusual home brewed vinegar, they give excellent colour and flavour to jams and tartlets
Secondary fermentation
The secondary fermentation needs to exclude air. After two weeks of primary fermentation (see above) I will cut off the oxygen by putting the vinegar in my large 5 litre bottles and capping them. I may add a little sugar, but cautiously, I don't want explosions and I'll release pressure daily. I'm also putting them in glass so that I can watch the lees. The lees impart lovely buttery or nutty flavors, but they must not get thicker than 13cm or they too can produce off odours. The vinegar will sit like this for two months. Essentially by then I'll have a fruit wine, a new one.
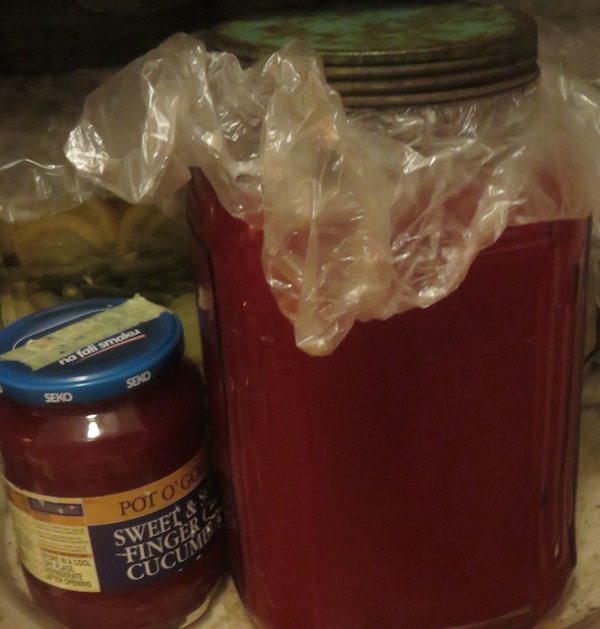 After 14 days of primary fermentation the Numnum wine is filtered and poured into a carboy for secondary fermentation without air. Sugar is added to build strong alcohol, which will give stronger acid in the third stage, and a vinegar with more complexity and good shelf life.
Acetic acid fermentation
and maturation
The third stage is the acetic acid or vinegar fermentation. This is triggered by exposing the wine to air again. The vinegar must remain in a dark place, ideally around 80 degrees F or 26 degrees C. After two weeks, smell and taste should tell me the alcohol has disappeared and been transmuted into acid. I will then strain and mature the vinegar. This fourth stage, maturation, should be no less than six months, though I've used my vinegars much earlier. It again requires that there is no air contact, so I'll bottle the vinegar to free up my brewing vessels, and let it age in bottles. However from time to time I may have to filter out the mothers, a sort of mucilaginous layer of dead organisms that builds in the vinegar. The mother can also produce off odours if it rots. Filtering will expose the vinegar to air again, aging it more rapidly, and must be minimized because air can reduce the acid so much that the vinegar loses its flavour and bad microorganisms may colonize the vinegar.
Beneficial gut bacteria in home brewed vinegar
Home brewed vinegar is more labour intensive and space intensive than I originally thought, but it is well worth it because of the lactobacteria and other beneficial gut bacteria that you will not find in commercial vinegars.
------
home page links to info on easy natural gardening
------
earthlove, my forest and eco products label
Restore Nature Newsletter
I've been writing for four years now and I would love to hear from you
Please let me know if you have any questions, comments or stories to share on gardening, permaculture, regenerative agriculture, food forests, natural gardening, do nothing gardening, observations about pests and diseases, foraging, dealing with and using weeds constructively, composting and going offgrid.
SEARCH
Order the Kindle E-book for the SPECIAL PRICE of only
Prices valid till 30.09.2023
Recent Articles
-
Geography Research Task
Jan 31, 25 11:37 PM
To whom it may concern My name is Tanyaradzwa Madziwa and I am a matric student at Springfield Convent School. As part of our geography syllabus for this -
Eco Long Drop Pit Latrines Uganda
Nov 29, 24 02:45 AM
Good evening from the UK. My name is Murray Kirkham and I am the chairman of the International and foundation committee of my local Lindum Lincoln Rotary -
Landscape Architect
Oct 01, 24 10:42 AM
I so appreciate your informative description! Your experimentation and curiosity with the seeds, germination, and rearing of the maggot are exciting to
"How to start a profitable worm business on a shoestring budget
Order a printed copy from "Amazon" at the SPECIAL PRICE of only
or a digital version from the "Kindle" store at the SPECIAL PRICE of only
Prices valid till 30.09.2023
