Dear Reader, in this age of AI created content, please support with your goodwill someone who works harder to provide the human-made. Sign up in the righthand column or bottom of this page. You will receive my hand illustrated monthly newsletter RESTORE NATURE and access to the biodiversity garden design course as I write...and nothing else, I respect your time.
free information making vegetable garden planners
work better
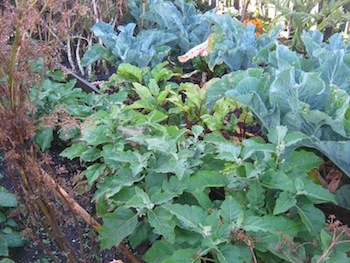 a Master's vegetable garden planner includes time
Adding important information to the usual free dowload vegetable garden planner
I attempt to fill in some of the shortfalls of most vegetable garden planners that are freely downloadable. To help you expand on these types of planners I will give you some basic rules of thumb for planting succession, and then lower down the page, some general needs of the vegetable garden, and some very basic beginner's resources for starting a vegetable garden, in terms of space, equipment and materials.
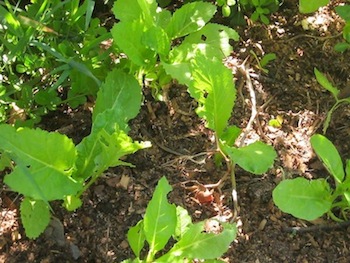 extend the vegetable garden planner by adding seedlings regularly
The convenience of downloadable vegetable garden planners
The vegetable garden planner available online is generally an exciting prospect, a help for the beginner gardener. If they come as free downloads they offer a once off layout in a range of beautiful designs that are usually optimally worked out for likely human consumption, soil type, nutritional and water needs, plant height and size, and
sometimes for plant companionships if they are good. These are quite a set of factors to juggle. Use their knowledge served up as a preformed plan, for convenience, and to boost your confidence in the beginning, but check up on the details of the plan as to your needs, plant needs and companions before implementing it.
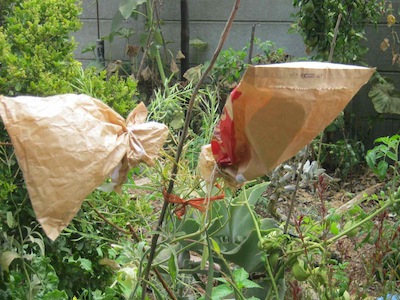 plan as you go vegetable garden planner includes leaving selected plants to mature fully for seed harvest
The weaknesses of the free-download vegetable garden planner
Their weakness is a one dimensionality. Most of the vegetable garden planners represent a snapshot in time, rather than a plan for a garden which is kept going with additional and continual planting. There are many reasons justifying this shortfall. For the beginner this snapshot once off planting plan is already complex enough, and is at least a good start and a lot will be learned in the process of building it. In cold climates the growing season may be so short that each year’s garden is effectively a snapshot.
Designing for crop succession can be complex, hence the presence of many interactive garden planning programs, which you have to pay for. On this page we supply a simpler solution for the student gardener. Representing the garden over time on a flat piece of paper or a screen involves complex forms of representation, much harder to encode than a snapshot planting plan. All these factors make a deep vegetable garden planner designed and structured over time, into a rather rare find. Those which are available have to be paid for.
The unfortunate result of a
snapshot vegetable garden planner
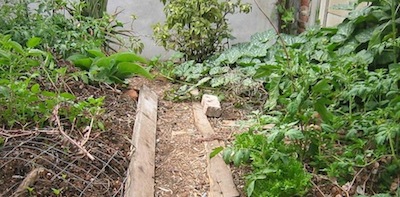 planted up in spring the garden is booming
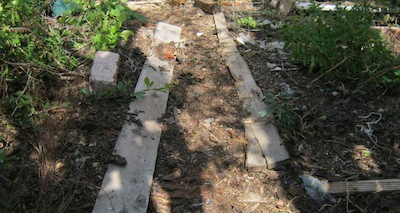 by late summer there is only basil and comfrey left
In our climate, after the initial planting has matured, I don’t know about you, but I’m left with a “dead” vegetable patch of mostly dried up or malingering plants and months of unproductive sunny weather still to come. I don’t want to start from scratch or uproot the still good or permanent plants in the vegetable patch. The thing is a productive vegetable garden needs constant refreshing. Getting this right involves some skill and the average vegetable garden planner doesn't help. My aim is to help you progress beyond the snapshot plan, without having to plan like a professional market gardener and pay for software. After you have laid out the free online snapshot garden, you can continue to remove plants and fill gaps, planting into it as the original plants peak and die off. I call this a plan-as-you-go strategy, learned from a master vegetable gardener and permaculture grower.
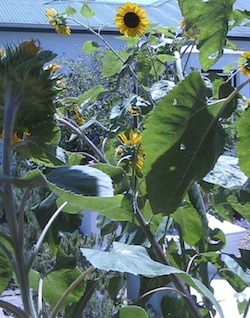 a Masterful vegetable garden planner includes time, succession and... flowers
the complexity of
preplanned succession planting
Crop succession, or the patterning of the planting over time can be quite complex. It involves seeing to all the needs of your crops while ensuring continuing supply over time. A very important strategy is crop rotation. This aims to minimize nutrient deficiencies and pathogens by not planting the same families on the same spot, and following with plants that have ever lower nutrient requirements in what is usually a four year cycle.Vegetable garden planners which have been programmed to factor in these elements are generally not free.
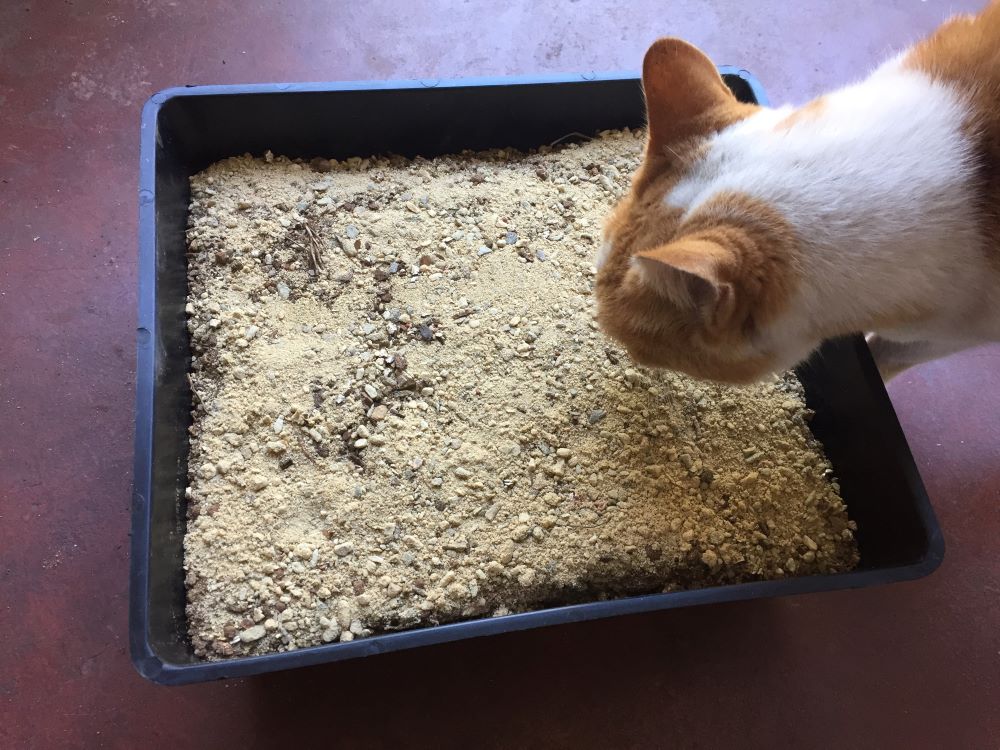 filling in after the vegetable garden planner peters out
Plan-as-you-go succession planting
It can be done in a much simpler, supply and demand fashion. Here are a few cost-free basic rules of thumb to extend your gardening plan and your harvest through time. This is especially important for those of us lucky enough to live in zones where the garden keeps growing all year. I also notice some online garden plans are rather baroque and elaborate, requiring a lot of space, landowner levels of room. With the plan-as-you-go vegetable garden planner method, you can plant anywhere, in between other plantings that are already there. You don’t need to lay out a huge vegetable garden, but just use the limited space you may have. You also don’t need to dig. I stopped that in 2012.
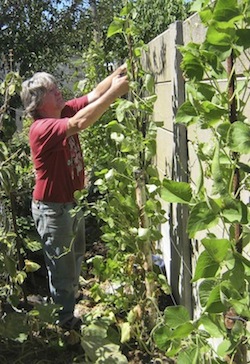 a vegetable garden planner for small back gardens should include walls. They represent a lot of space.
A simple vegetable garden planner with an added dimension
TIME
This is a plan and plant as you go system that works really well. Planning it all out in one sweep at the start of the year is complicated and likely to not work out in all details anyway, requiring flexibility. The best laid vegetable garden planner is going to give you some surprises, so why not stay simple, flexible and learn gradually on a needs driven basis. Don’t get too fixated on planning it all. Every plan needs some 'give'. Make it easy. Do the basics and your planning skills will become honed with time to the appropriate degree of complexity for your needs.
Succession planting
easy rules of thumb
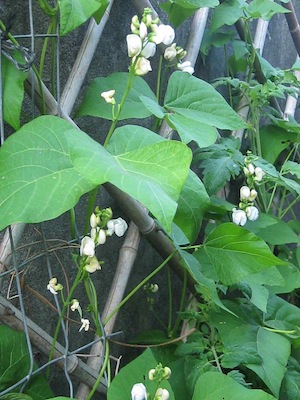 beans are the first or last vegetables in the cycle
On any one piece of earth, start with legumes or mature manure rich compost, next move on to leaf vegetables, then maize and cucurbits, then plant other fruits like tomatoes and lastly roots. You can grow them all together at the same time too. The three sisters of native American tradition: maize, cucurbits and beans operate this way. The beans provide nitrogen for the others, the maize is tall, the beans wind up them, and the pumpkins cover the ground, each maximizing the use of a particular space, a mini ecosystem.
COMPOST or LEGUME > LEAF > FRUIT > ROOT
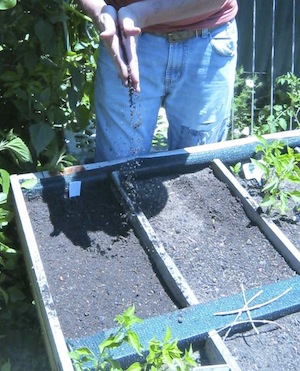 the Master gardener keeps sowing all year
The vegetable garden planner
How to maintain supply ?
Plant up your garden based on a downloaded snapshot plan, but keep sowing seed in your nursery every few weeks, and sowing seeds appropriate for the season. Seed sowing calendars are everywhere on the internet and many are for free. This way you may only need to buy one or two new seed packets a month as seasons change. Sow a tiny quantity if your garden is small. Once your seedlings have germinated feed them (use organic fertilizers like worm tea or dilute urine) and give them some more sun so that they can become robust and have plenty of strong roots when they are planted out in the garden.
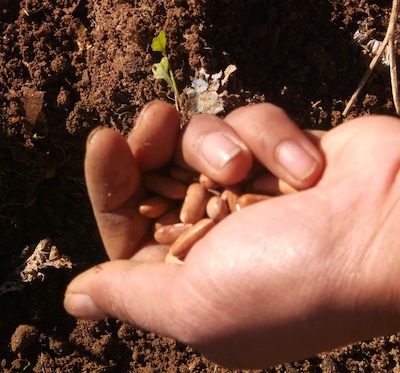 beans are usually sown direct
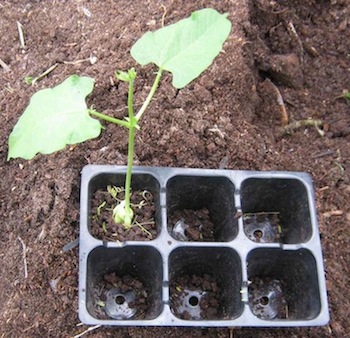 but they can be started in sixpacks but they can be started in sixpacks |
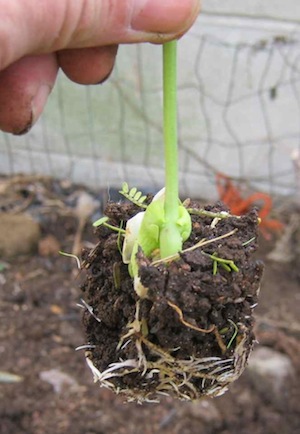 before transplanting before transplanting |
rule one: plant by plant parts
As you remove plants that are finished cropping fill the spaces with plants in the appropriate succession using the rule of thumb:
legume > leaf > fruit > root
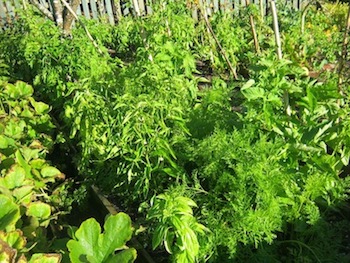 a plan-as-you-go vegetable garden planner with chili, carrot and basil
rule two: plant relationships
Try to avoid following over several successions with plants from the same family, as they may have the same pathogens, especially Solanaceae (familiarize yourself with nightshade plants so that you can recognize them). Our tomatoes planted in the same spot took 2 years to show serious signs of disease and a need for crop rotation. Similar plants may also take up the same nutrients, depleting the soils of essential minerals, but specific knowledge is needed on each variety to predict this. Watch and learn about the frequencies of such rhythms. I’d say do what is convenient in terms of filling your beds so there is no naked earth, and rotate and rejuvenate with compost at the first sign of deficiency or disease. Look up good companions for inspiration for your planting and sowing and pest management.
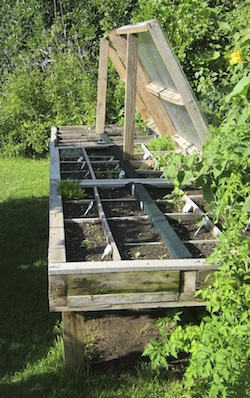 Beautiful seedling frames. Supplementing the vegetable garden planner
rule three: seedling flow
It is good to sow regularly, in year round growing conditions, at least monthly, some with big gardens will do it weekly, and grow on the vegetables, even those which can be planted direct, as it increases the turnover rate of and productivity of your garden. Even beans can be prepped up in sixpacks.
A well known Australian permaculture gardener sows seeds in low nutrient media in plug trays, or open trays without compartments, and transplants them really early into larger containers with richer soil for growing on. She claims early picking out at the four leaf stage is less traumatic for seedlings than later transplanting. To minimize later trauma she plants her seedling in sawn off plastic bottles wedged in alongside each other in milk trays, and lets them get a hand high. The plastic is open at the top and the bottom. But standing on newspaper. When planting out she just digs a hole, puts in the plant in its tube, tamps it down and then carefully pulls up the plastic tube so that it is mostly above ground. This way trauma to the roots is minimized. She has a huge productive garden and is entirely self sufficient and claims minimizing transplant trauma (and chicken tractors) increase her garden’s productivity and turnover immensely. The pulled up plastic tubes also supply collars for early protection from desiccation and all those garden denizens which love tender young plants. The plastic collars are removed when the plants set.
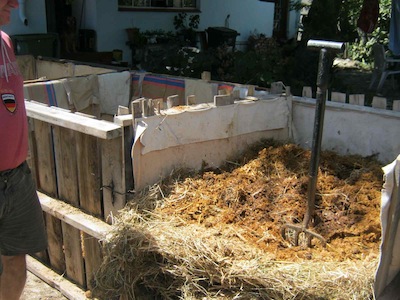 compost is the vegetable garden's foundation
The general needs of the gardener, as
vegetable garden planner
Information
In addition to your vegetable garden planner, no matter where in the world you are, you will need information such as planting calendars showing when a particular vegetable can be planted in your climate and culturing instructions for particular plants. These can be found on the internet. I got my planting calendar at a gardening workshop. These basic guidelines will help you while you gain hands on experience until one day most of it is in your head, and you only need to check up as a memory jogger, once in a while, or when you explore new plants and concepts.
Useful to refer back to and as a memory supplement is a garden diary. I scoffed at this until my nursery became absolutely confusing and I lost plants. Now I record what I’ve done on a daily basis, as I work, the same day. I record seeds sown, and back it up with labels on the pots, I record when I took cuttings and when I planted seedlings out, and I record any odd information such as new sightings of pests and so forth. I have a tiny 400 meter square garden and I need all of this recording to stay organized. Regarding insects, I don’t do anything until it becomes a problem. This is my gardening philosophy. I don’t aim for a pest free garden, but let it alone to regulate and balance itself and deter and exclude (see fruit fly management) to keep alive and encourage the 95% of garden insects which are my friends and helpers. All garden poisons kill everything, including bees. But most of the garden is waiting to help you and do your work for you with more precision and millions of years of evolution as training. There is something that has evolved to eat every one of your pests, so let it survive and it will do a better job of keeping populations down longterm than that expensive concoction forced on you by big agro-advertising.
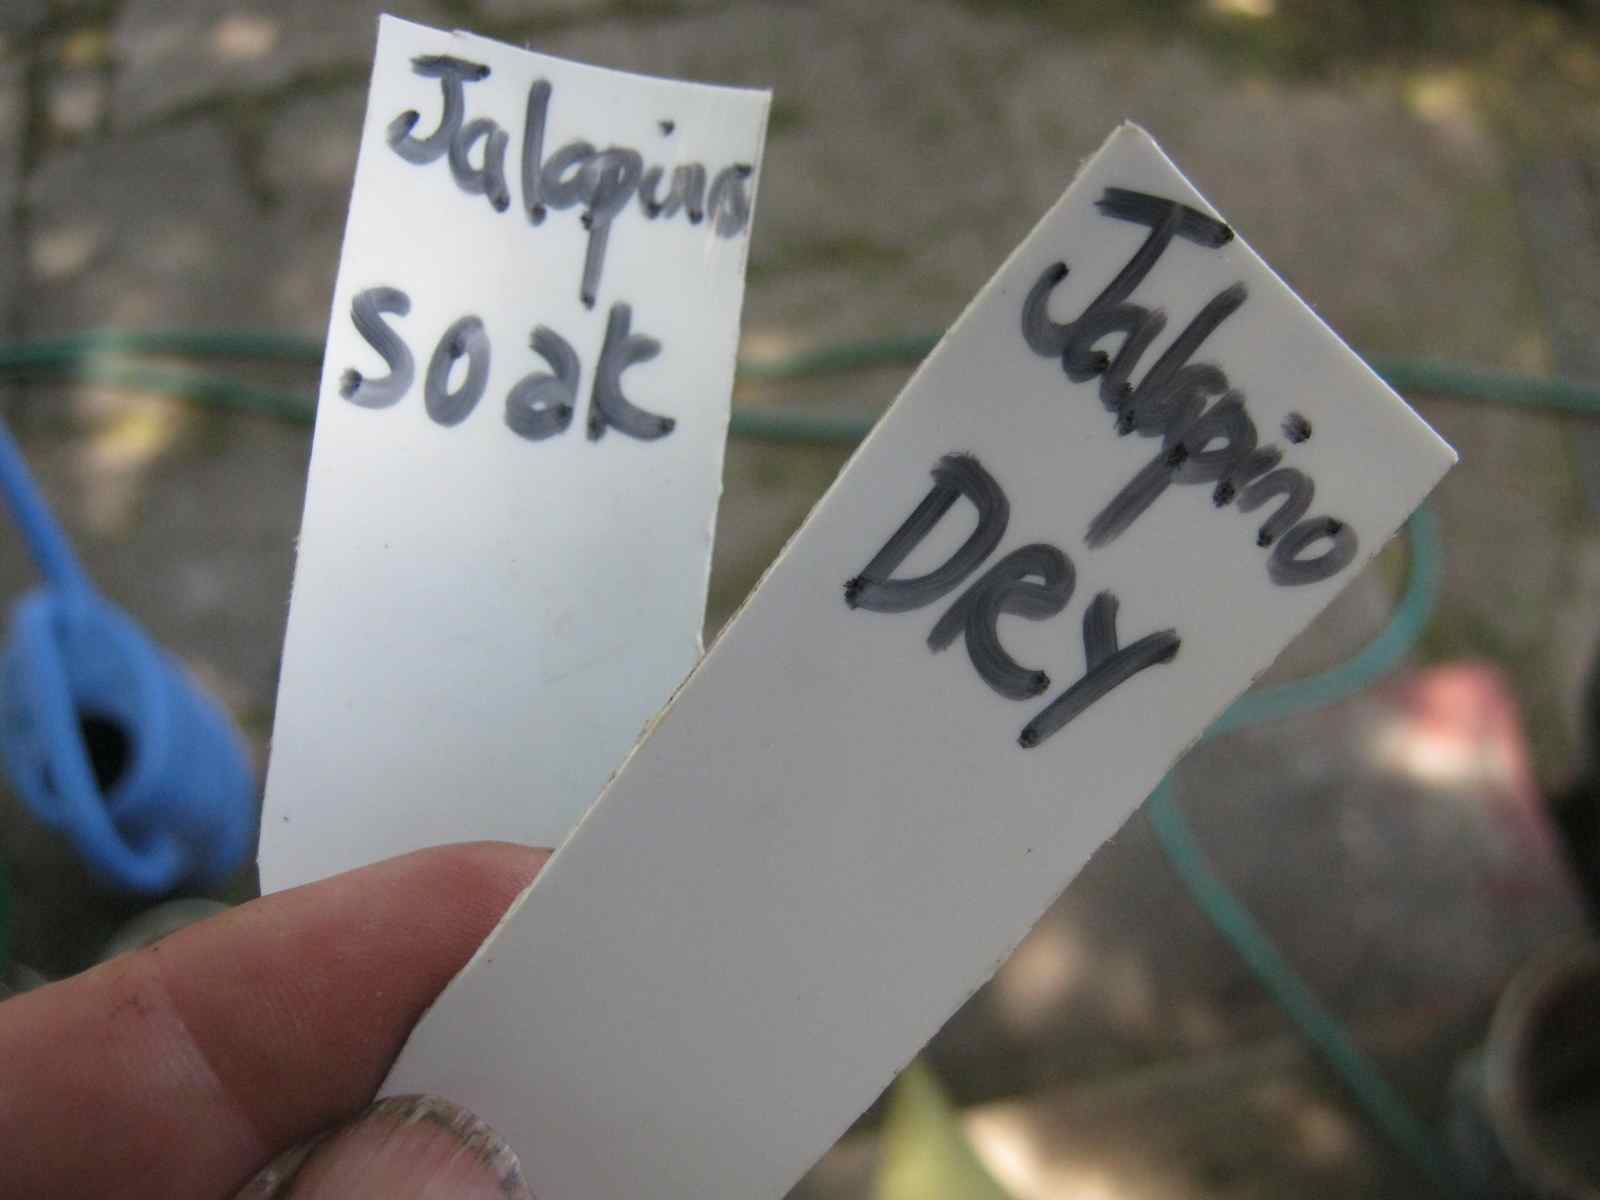 keeping track with labels cut from recycled yogurt cups
The basic needs of the
vegetable garden planner
in different climates
Hot, dry climates
Those gardeners in harsh hot climates will need to collect extra mulch for very thick mulching, and find a way to partially shade soil. Heidi Gildemeister finds high shade from tall trees with long bare trunks to be the best type of shade, it moves during the day so that the food plants are not always in the dark. I use temporary partial shade for new plantings made of leafy thorny twigs. The leaves fall at just about the time the plants take. The dogs, cats and birds also avoid them. The vegetable garden is planted where it gets dappled shade from midday to two and shade from the fence from about four pm, while still having blue sky above and plenty of light. Direct afternoon sun is the most destructive to vegetables which are from cooler climates than ours. My grandma used to talk about ‘actinic rays’ from afternoon sun, but that has really gone out of fashion.
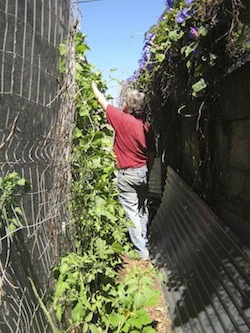 a vegetable garden planner should maximize on available space: Beans, tomatoes, okra and cucumbers in the alley
Create berms around plants and expand them if the plant is perennial, to encourage root mats to expand. Start with daily watering at first planting or when seeds have not yet germinated, and provide a slow weaning off from water to drive roots deeper, ending at about twice a week for European and Asian vegetables, and less for indigenous ones and desert herbs. On a small scale you can water with cans, as I do. The exercise is good and doesn’t involve any bracketing activities like the time wasteful pack-travel-workout-shower-change-travel routine, but I only have 400 square metres. Larger gardens will need water and time saving drip irrigation. Heidi Gildemeister recommends watering on demand rather than on a timer. You will still need to patrol the garden to save water this way. For indigenous vegetables from the new world, you will have to do a bit of research on American vegetables as the climate diversity is extreme from north to south. Try to work towards a smart water-wise layout, grouping plants according to water needs. You can even incorporate a gray water outflow into this, seeping into a well draining swale. Plant the bananas and grenadillas, bamboo and mint or leaf vegetables where there is more water and then the deciduous fruit trees or the other garden vegetables, and end up with olive and carob or drought tolerant vegetables at the end of the swale where it is driest.
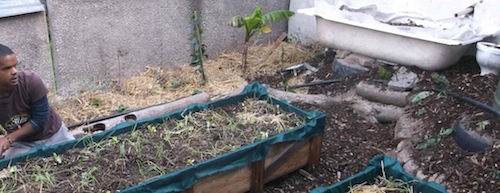 A permaculture designer, Saudiq from SEED, in front of the start of a swale planted with a banana and then sequentially less thirsty plants.
Frosty climates
Gardeners in cold climate zones have to deal with complexities that a vegetable garden planner cannot address. They will have to lay their hands on a daylight zone chart and those in frost prone zones on a frost calendar. They will need to find a corner with the best possible sun, if daylight hours are limited, and good drainage if rain is excessive. In frost zones gardeners will need to occasionally use frost protection like straw tepees for older plants. They should also remember cold air flows like sticky water, and the frost will be worst in the ‘basins’ in the garden where water could collect, and to plant accordingly. Frost protection for young plants includes straw, cloches, or some kind of glass cover like a cold frame or greenhouse. They may wish to extend the growing season by starting seedlings under glass or on window sills, to make the most of the sunny seasons, and to avoid frost damage. The variations are so great and as a warm climate frost free gardener I don’t have much hands on knowledge and only four years of experience in Germany, but I have a girlfriend who is a master, Karin Uphoff. If you speak German follow her amazing website and blog about her show garden (Karin Uphoff at Hortulus.de).
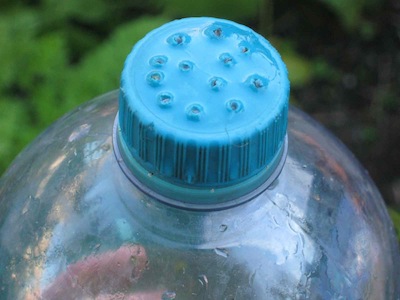 my most vital garden tool is recycled and hand made
Basic resources needed for starting a vegetable garden
For starting a vegetable garden you will need some tools and space which I list below. It isn’t comprehensive. All of this depends on your circumstances. When you start your garden spend some time thinking where you will put everything and whether you can make it convenient and easy to operate, minimizing walking and carrying distances that you will be doing frequently.
Time
You will need time. I get by on an half an hour of hand watering a day with a 2 hour additional booster twice a week for planting, compost making, weeding, cleaning up and other tasks.
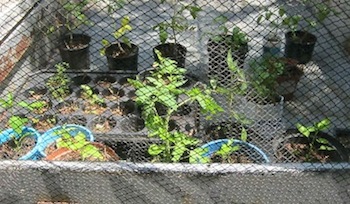 our trailer doubles as a nursery with bird net protection
Space
You will need an orderly place and system for keeping gardening records once you are past the five vegetables germinated on the windowsill stage. You will need space for a nursery for your seed trays and cuttings. I used to use windowsills but even my small garden has exceeded their capacity. I have a total of about 3 square metres of nursery space for a 400 square metre garden. The vegetable area itself is about 6 square metres. So an area equivalent to half my vegetable garden space is nursery space. However 2/3 of that nursery is not for vegetables per se. A permaculture gardener ‘needs’ to be growing all kinds of other stuff like nut trees. About half of the nursery space should be in partial sun, for growing on robust seedlings and rooted cuttings, and of the rest ¾ should have some shade, and ¼ can be in total darkness if that is all you have. Pull the seed trays out of the dark immediately they germinate. My dark space is full of acorns and tree seeds. You will need a space for keeping your maturing compost, the ideal heap being a cubic meter, and hot compost (see different composting techniques) need turning, requiring two such spaces ideally. I use palettes fastened with cable ties to make two chambers. You will need a space for storing your mulch, for keeping fermenting teas and buckets of organic concoctions, for storing your plant stakes, extra buckets, potting equipment, rain tanks, and tools.
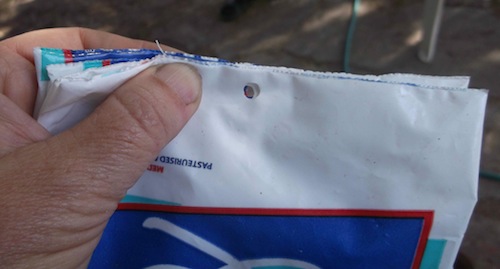 holes punched in the bottom of some milk packets
Equipment and
gardening tools
I find a sieve, spade, fork and trowel, clippers or secateurs, bow saw and gentle fine seedling sprinkler are all the tools I need. I use a lot of buckets for various purposes, about ten at least. You will also need seed trays, and clear plastic or newspaper for covering them, depending on the seed’s needs, and lots of old plant pots. Plant pots can be sterilized occasionally with a spot of bleach or vinegar in a bucket of water. You can also plant up in a variety of old sawn off plastic bottles or plastic bags, I find milk sachets holed at the bottom convenient as they store flat and are constantly available. 20 cm deep plastic trays for mass cuttings or seed sowing are also useful. A spray bottle or two for foliar feeds and blowing insects off your plants is a nice addition. Nets for keeping out birds, and shade cloth can come in handy. You may need cold frames or a greenhouse if you live in a cold climate and your windowsill has become too crowded, and there are many different very low budget options, if you do a little ‘googling’ on the interwebs. For keeping harvested seeds, I have tiny plastic bags and a tupperware box in the fridge (see vegetable garden seed).
Materials
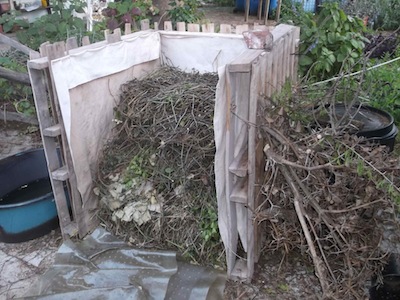 cable ties and three palettes make a composter
Compost
My teacher told me growing vegetables is all about making good compost. Collect organic mulch and compostable material in your area. Store swept up street leaves, lawn mowings and fine garden clippings in sacks or piles and keep manures of all kinds in bags or sealed buckets to keep out flies, and kitchen waste in buckets, ready to be assembled into hot compost piles in one action, or scatter them as they come in on a colder slow mouldering pile. Hot sterilizes, and cold maximizes micro-organisms in the soil, take your pick for specific needs.
Other materials are sawdust, straw, wood shavings, restaurant and vegetable market waste, fruit waste from farms, and manure from horses, rabbits, chickens, dogs, cats, and humans, as well as animal carcasses, feathers and animal parts, depending on where you aquire them and your ideology. Anything that was once alive and growing can become compost. They compost ingredients can be put together in an ideal carbon nitrogen ratio to speed up composting (see hot composting)
Potting sand
You will need a place you can get sand, either in your garden or from a supplier. You can recycle the potting medium from failed plants, of which one can normally expect a good percentage. Do not be disouraged about failure rates. Sterilize the potting soil by spreading it out in sealed clear bags in the sun for many days, and then adding a little wood ash (a few spoons per bucket only), new compost, and other additives if you can afford them, like bone and stone meal. Solarize your seedling water too if you wish, in clear bottles in the sun.
Stakes
Collect sticks for staking your plants. Staking helps with disease control and more. Turn garden prunings into stakes. The smooth as glass bamboo poles don’t work so well, everything slides off them. Keep some branches with forks for tying on heavy fruiting plants and supporting cross beams.
Liquids
Keep a little of your own urine, it has a lot of uses. Cheap vinegar is also good for sterilizing. Put a drum or raintank below one of your downpipes taking rainwater off the roof. We use wheely bins as rain tanks and have three of them. They don’t get us through our summer drought and if I had money I would install a cistern underground for holding about 10 thousand litres.
That is all the basic materials and equipment most gardeners will really need.
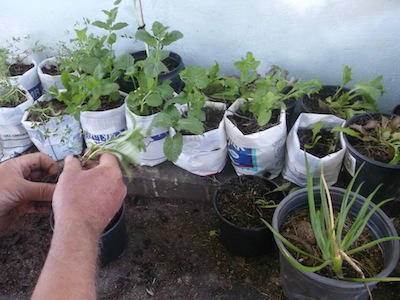 chard seedlings in milk bags
Start small and simple and enjoy growing
I’d urge all new vegetable gardeners to start small with available equipment, like windowsills. As you learn, much of the fancy equipment people want to sell you as a beginner becomes redundant. Invest when you are bursting the seams of your current setup and your passion has been constant for years. It is a long slow learning process.
In expectation of great things to come, and rewards for hard persistent work, a little fun, this cheerful video on curing and keeping your pumpkin harvest should motivate you ! I like to dream of days to come, but no pumpkins yet.
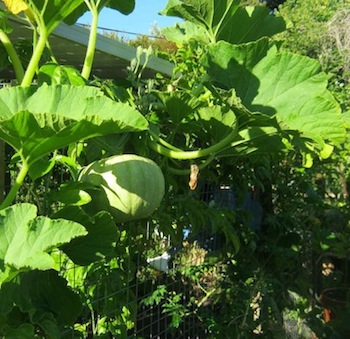 a gorgeous pumpkin on the vine, on the hen house
------
home page for links to lots of useful natural gardening techniques
------
vegetable gardening the natural and cost effective way
Restore Nature Newsletter
I've been writing for four years now and I would love to hear from you
Please let me know if you have any questions, comments or stories to share on gardening, permaculture, regenerative agriculture, food forests, natural gardening, do nothing gardening, observations about pests and diseases, foraging, dealing with and using weeds constructively, composting and going offgrid.
You’re a home gardener ! Share your experiences and questions !
We all know about home gardening. Tell us about your successes, challenges and ask about issues that bother you. You may have the luxury of a back garden, but there are other ways we learn. Few people age without growing something or buying vegetables during their lives ! It is absolutely guaranteed that you have learned things which can help others on their gardening journey.
We invite you to share your stories, ask questions, because if a thing has bothered you it will bother others too. Someone may have a solution ! No question is too small. There is learning for everyone involved, for you, for me (yes, I learn from every question), for us all. Exciting stuff !
We are starting on a new journey. Every week we will profile your letters ! The best stories and questions we receive.
What Other Visitors Have Said
Click below to see contributions from other visitors to this page...
mixed planting with vegetables and succulents Not rated yet
In this planting of mustard and succulents the succulents are more permanent and the mustard is a filler along the path. The mustard and the Cotyledon …
mixed planting with vegetables and succulents Not rated yet
In this planting of mustard and succulents the succulents are more permanent and the mustard is a filler along the path. The mustard and the Cotyledon …
SEARCH
Order the Kindle E-book for the SPECIAL PRICE of only
Prices valid till 30.09.2023
Recent Articles
-
Geography Research Task
Jan 31, 25 11:37 PM
To whom it may concern My name is Tanyaradzwa Madziwa and I am a matric student at Springfield Convent School. As part of our geography syllabus for this -
Eco Long Drop Pit Latrines Uganda
Nov 29, 24 02:45 AM
Good evening from the UK. My name is Murray Kirkham and I am the chairman of the International and foundation committee of my local Lindum Lincoln Rotary -
Landscape Architect
Oct 01, 24 10:42 AM
I so appreciate your informative description! Your experimentation and curiosity with the seeds, germination, and rearing of the maggot are exciting to
"How to start a profitable worm business on a shoestring budget
Order a printed copy from "Amazon" at the SPECIAL PRICE of only
or a digital version from the "Kindle" store at the SPECIAL PRICE of only
Prices valid till 30.09.2023


