Dear Reader, in this age of AI created content, please support with your goodwill someone who works harder to provide the human-made. Sign up at the top of the lefthand column or bottom of this page. You will receive my hand illustrated monthly newsletter RESTORE NATURE and access to the biodiversity garden design course as I write...and nothing else, I respect your time. I am also removing the advertizing as best I can as its become intrusive inappropriate and pays me nothing.
Making potash soap for the laundry and dishes
This article is about making liquid soap to use for laundry and dishes. It is potassium lye based soap which is as far as I know, more friendly to closed domestic grey water systems than the usual sodium lye based soap. But we keep learning, both as individuals and societies. I hope I'm doing the right thing using it.
I will post the recipe for the soap at the bottom of the page.
Is potassium based soap more
environmentally friendly ?
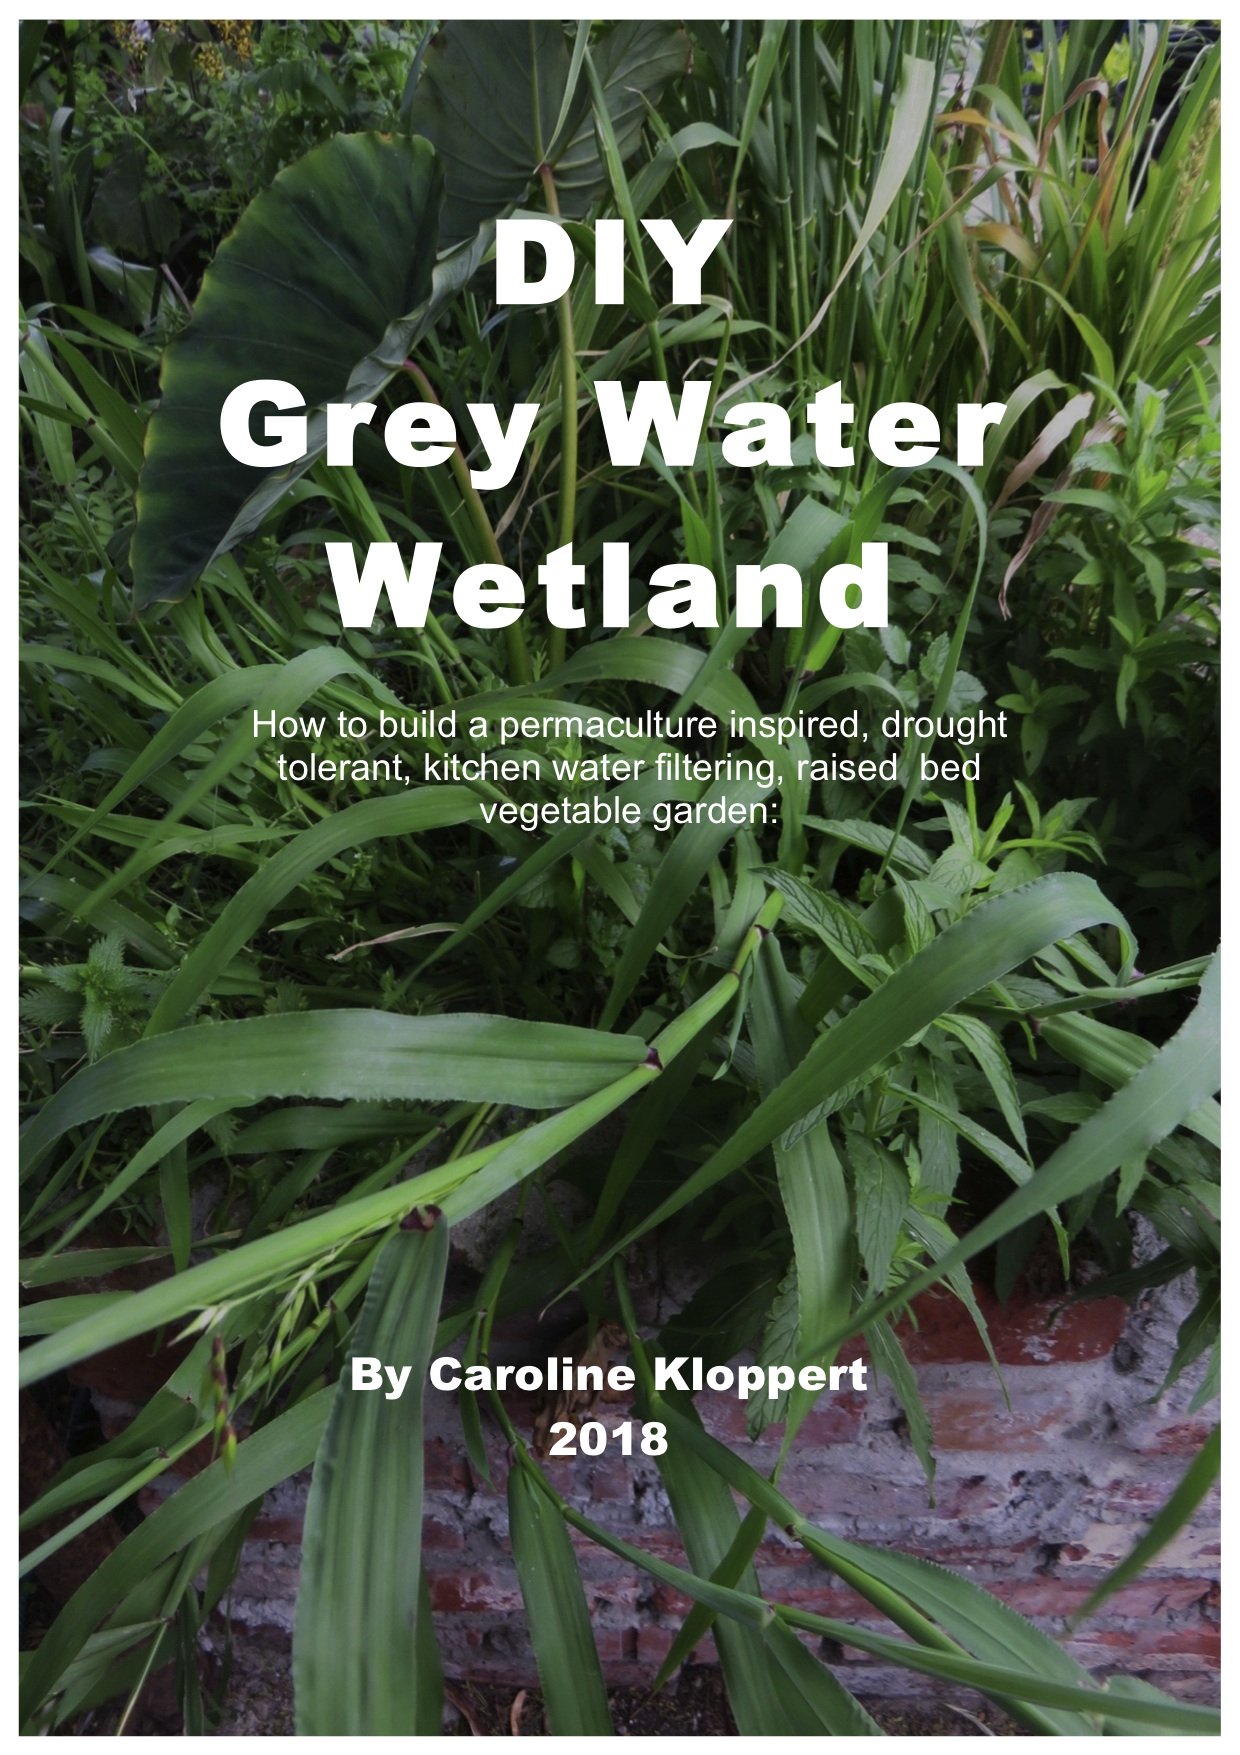
The answer is both yes and no, so a word of caution: Soap using potassium lye is not environmentally friendly in every situation. I therefore have dedicated a whole sub chapter in my book DIY Grey Water Wetland, (see the right hand side bar), to the subject of soap choices. Briefly, the choice between using a sodium or potassium base depends on the context in which the waste water containing the soap will be disposed of. What is good in one situation is bad in another.
YES, in a closed system
-My waste water goes through plastic lined grey water wetlands which are closed systems. The water is lost via transpiration mostly. If I used sodium based soap the build up of sodium in the wetlands which use biofiltration to clean the water would be high. The same can be said if you use grey water on the garden. The build up of sodium in the wetland or the soil, would eventual destroy the fertility. I need the plants as part of the biological process, and a gardener needs the grey water irrigated areas for growing food perhaps. In this context I use potassium based soap as potassium is a macronutrient, the K in NPK, and will feed the plants rather than inhibit their growth at slightly high concentrations.
NO, in an open system
However, if the grey water finds its way into local water bodies it is not good. As a macronutrient it may help cause algal blooms in the water, be it a river, lake or ocean, that use up the oxygen in the water, and kill off oxygen breathing life like fish in the waterbodies. However, nitrogen and phosphorus are usually much more dangerous for bloom building, so beware of soaps which contain phosphorus. If the grey water is taking the path into local waterbodies, either via the public waste water system, or because the water table is close to the surface, and local rivers are affected by runoff from your garden, it is better to use sodium based soaps.
Observations made on the soap forming process
Time
I have made liquid potassium soap before, and I found both times that it takes much much longer than they promised in the recipe, as you will see in my description. I started wondering if anything was happening, and it went on and on, so I am adding descriptions of the stages, so that you can compare them to your own experience and be less frustrated, hopefully as you will know something is 'happening'.
Left over lye
The first time I made it there was lye left over. If you have the right lye and oil quantities there will be no lye left over, swimming about. I was very careful with measurements this time, and with getting the quantity of potash right and its emulsified and set perfectly.
Translucency
The recipe promises a semi-translucent petroleum jelly like appearance 15 minutes after trace, or the point of emulsification. No luck. Last time I made this soap it also did not go translucent though I stirred for hours. I eventually gave up and put it in a jar, and it turned translucent in the jar over a period of 25 hours. This time the mixing went on for 90 minutes with no hint of translucency and a lot of sweat, and I also gave up on the transparency.
In the total fat weight there was about 5% more coconut than there should have been, and there was also less potash. We continue to learn always, and we'll see how this new mix works in the long term, which it the most important factor. The last batch worked well and lasted months, despite its flaws.
Temperature
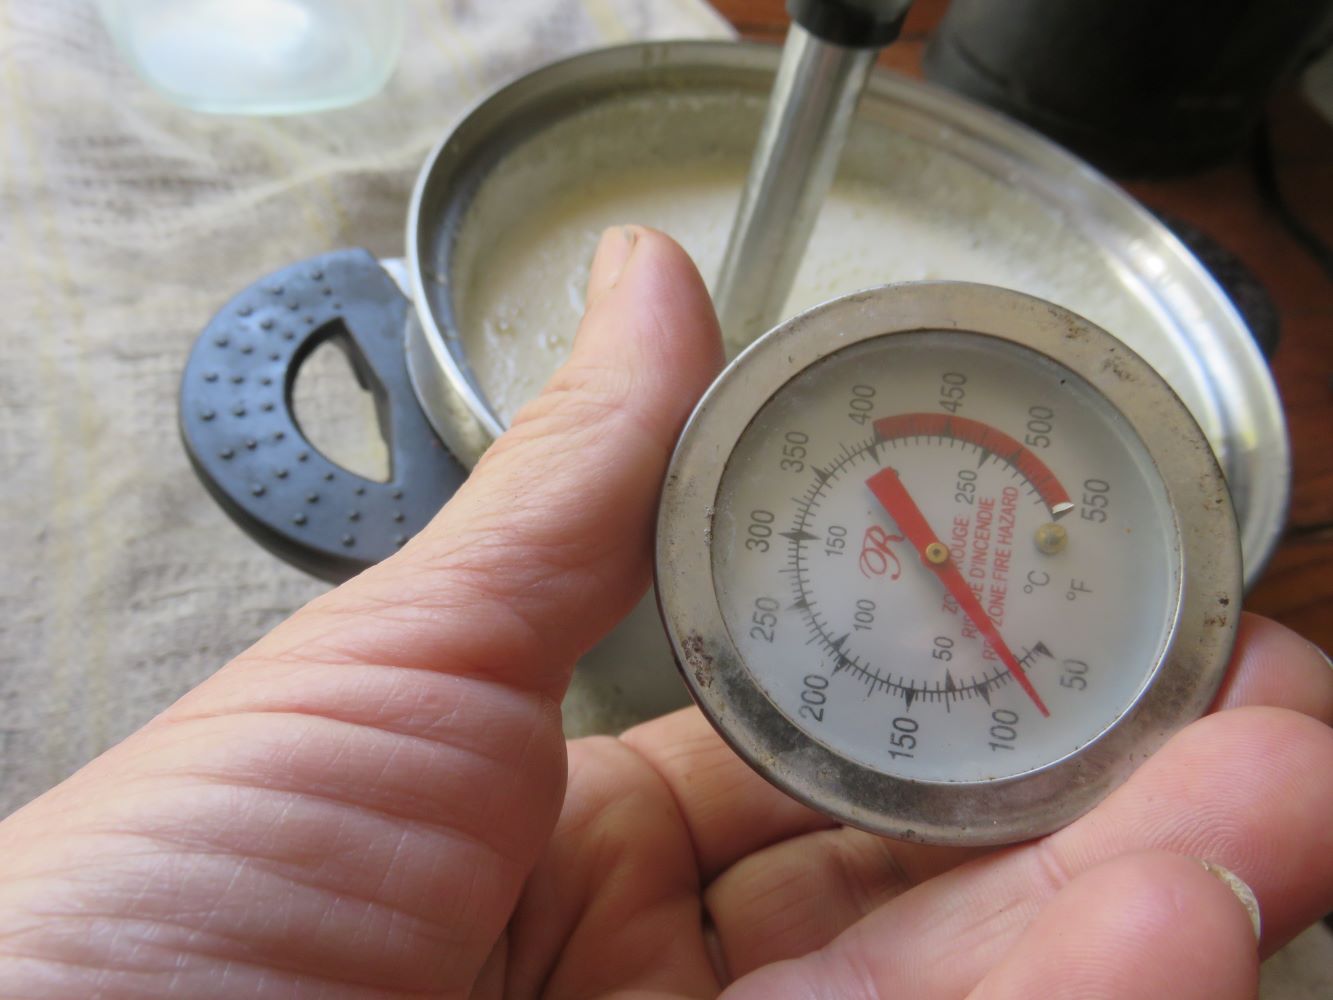
I did observe some interesting things about the temperature. I heated the oils to 70 degrees C. At this point the coconut fat just began to melt slowly. The lye reached 70 degrees by its own internal reaction when the crystals were added to the water, so it is an exothermic reaction, giving off energy. Very rapidly the temperature of the lye began to drop, and the temperature of the fats dropped too when I took it off the stove. So I put the two quickly together while they were still at the ideal temperature. After this they stopped cooling down so fast, and I hardly had to apply any heat. But later, as the mix finally began to react, to get stiff, I had to apply heat frequently again. I have no explanation for this. Perhaps the fat just stored heat for a long time, or perhaps the saponification reaction is exothermic, and once it has occurred, there is a second reaction which is endothermic, absorbing heat, and requires added heat.
Consistency
As to the physical nature of the soap
mix in the making, it is quite fascinating how it goes from one state
to the other, through many different stages, and through mixed states
comparable to other substances we know that are semi-liquid like jelly, syrup, cream and so on.
For the first ten minutes or so the oil and lye don't mix too well, but the blender creates a suspension, like a thick foamy salad dressing. Then the mixture begins to look clotted. The clots get a little larger over the next twenty minutes of strenuous stirring, and then there is another shift in state. At the same time, the clots disappear, the mix began to be absolutely smooth, and its affinity for the pot surface also changes. It goes from frothy edged to either sticking to the pot with a few strings, like wet dough, or coming off it as if it was repelled. The mix has slowly thickened during this time to a thicker and thicker cream. Very soon, the whole body of the liquid rocks as you stir, as if it was a jelly. The instructions say that one can now abandon the blender. This is because it has become thick enough that the blender blades whirr around and the substance doesn't turn under in a vortex at all. In other words the blender stops being able to mix the mass as it is too stiff.
The next stage is a change from this ever thicker creamy substance with jelly like or pudding like properties to syrup. If you lift the spoon a long winding ribbon coils on the surface of the liquid. The syrup becomes thicker and you can see the bottom of the pot as you stir. I found at this point that I had to keep on applying heat. The next stage I noticed was that the mix looked very like dough. Also the reaction went very quickly from syrupy to so stiff that the liquid was no longer liquid but a coherent mass that the spoon could begin to lift as a whole.
A few more stages of stiffness and the spoon could lift the whole of the soap mass as one. It was now impossible to stir with the spoon but I went on punishing my wrists and applying heat for another half an hour, hoping it would turn translucent as the recipe promises will happen in 15 minutes after the soap emulsifies. No transparency after 90 minutes.
After the mass becomes one lump, the surface begins to have a rougher look rather than a syrupy one, as the spoon tears little trails and threads out of it. It is tremendously sticky stuff.
In addition to the photographs below I have a few videos of the action which show four stages of solidity.
4. unified tarry mass with small sticky threads
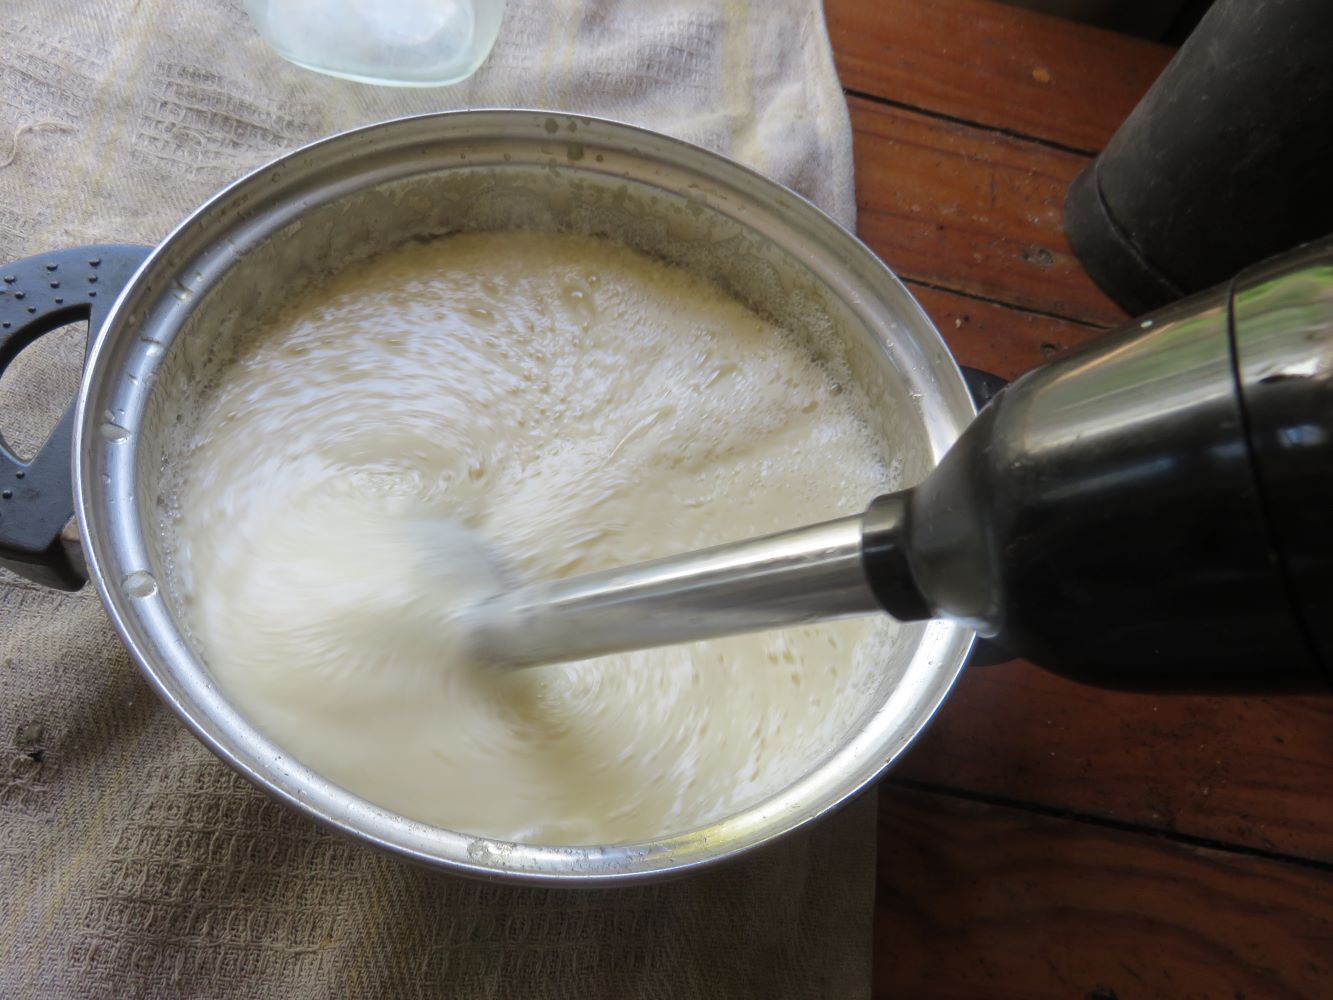 clotted and foamy 10 mins clotted and foamy 10 mins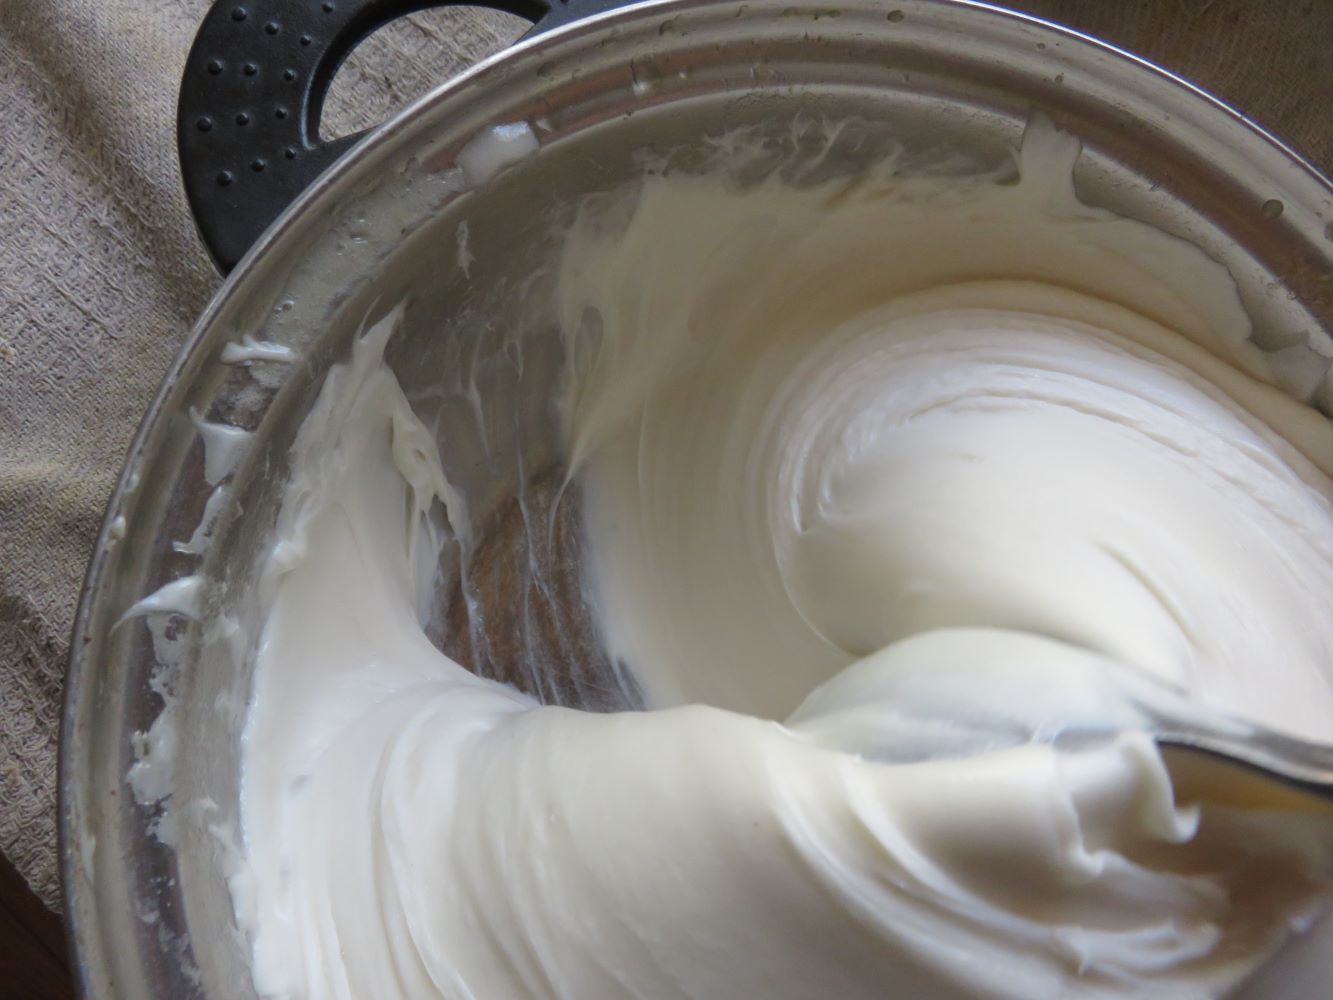 coming off sides 45 mins coming off sides 45 mins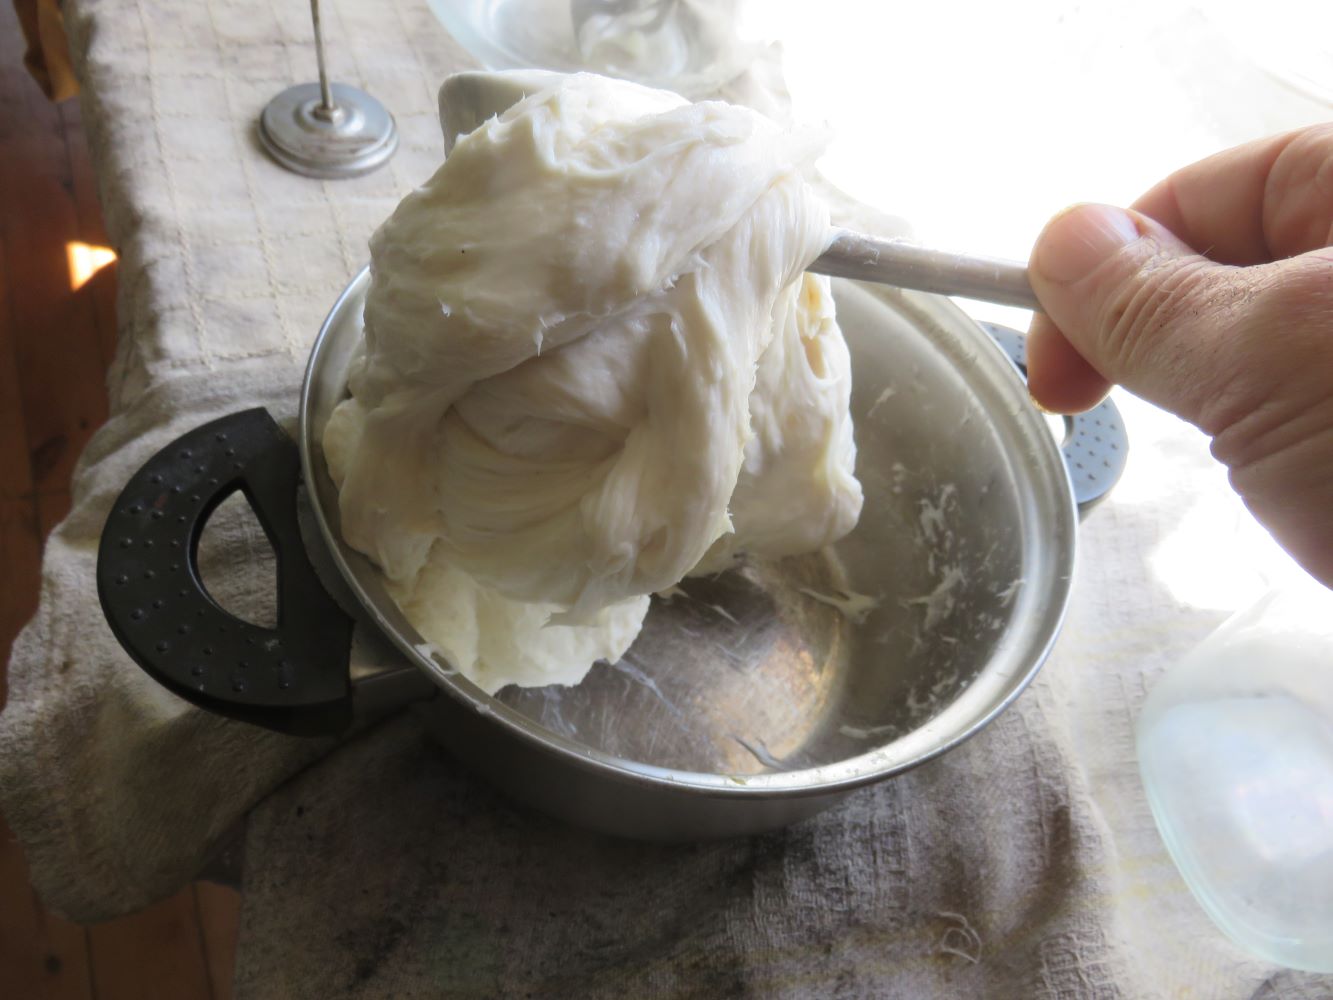 one lump 70 mins one lump 70 mins |
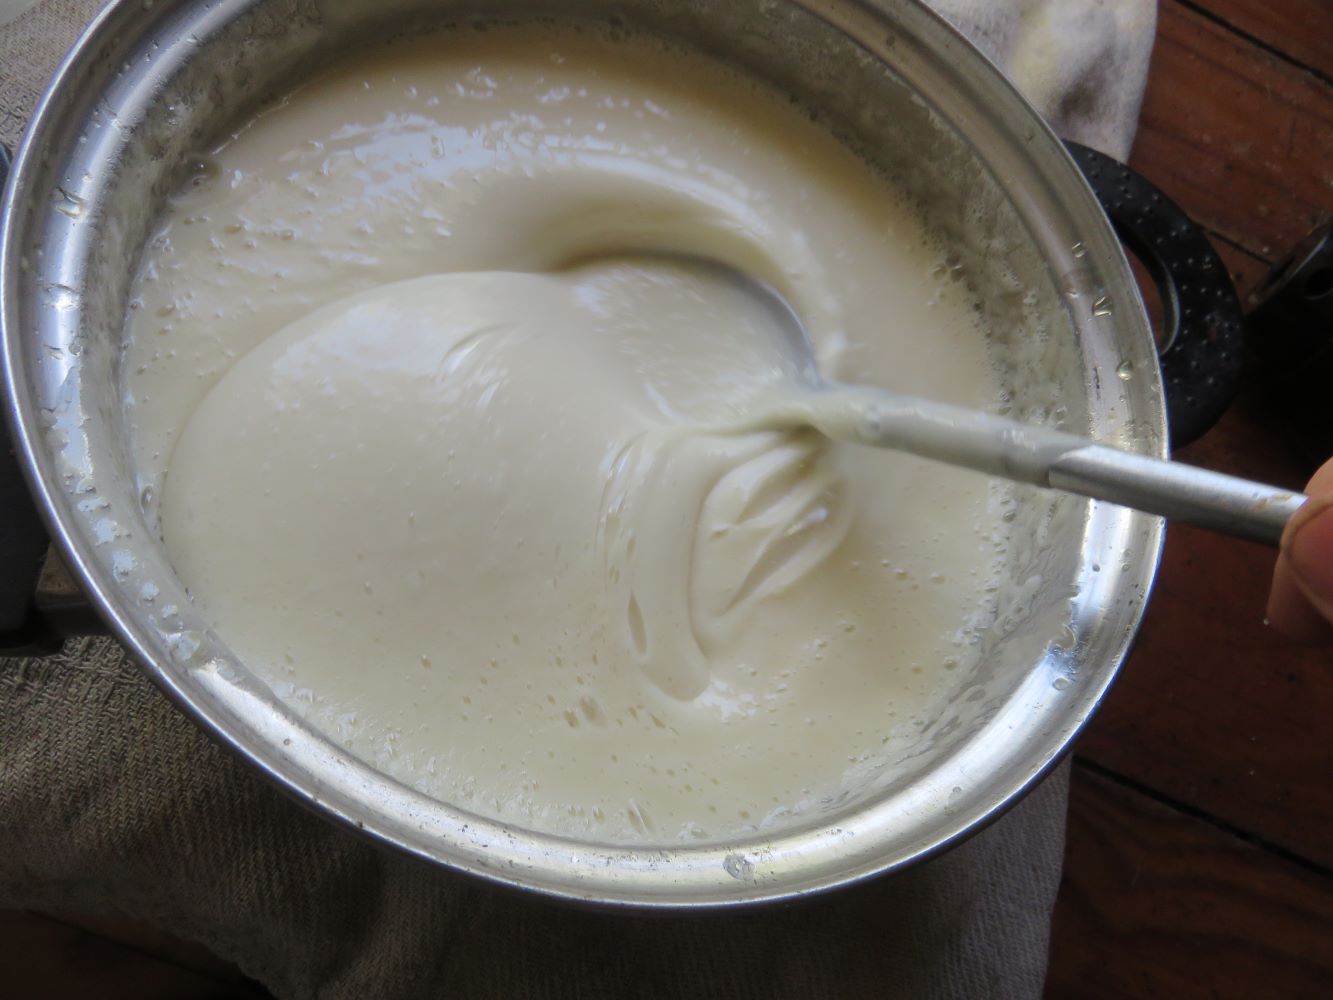 smooth, jelly like 30 mins smooth, jelly like 30 mins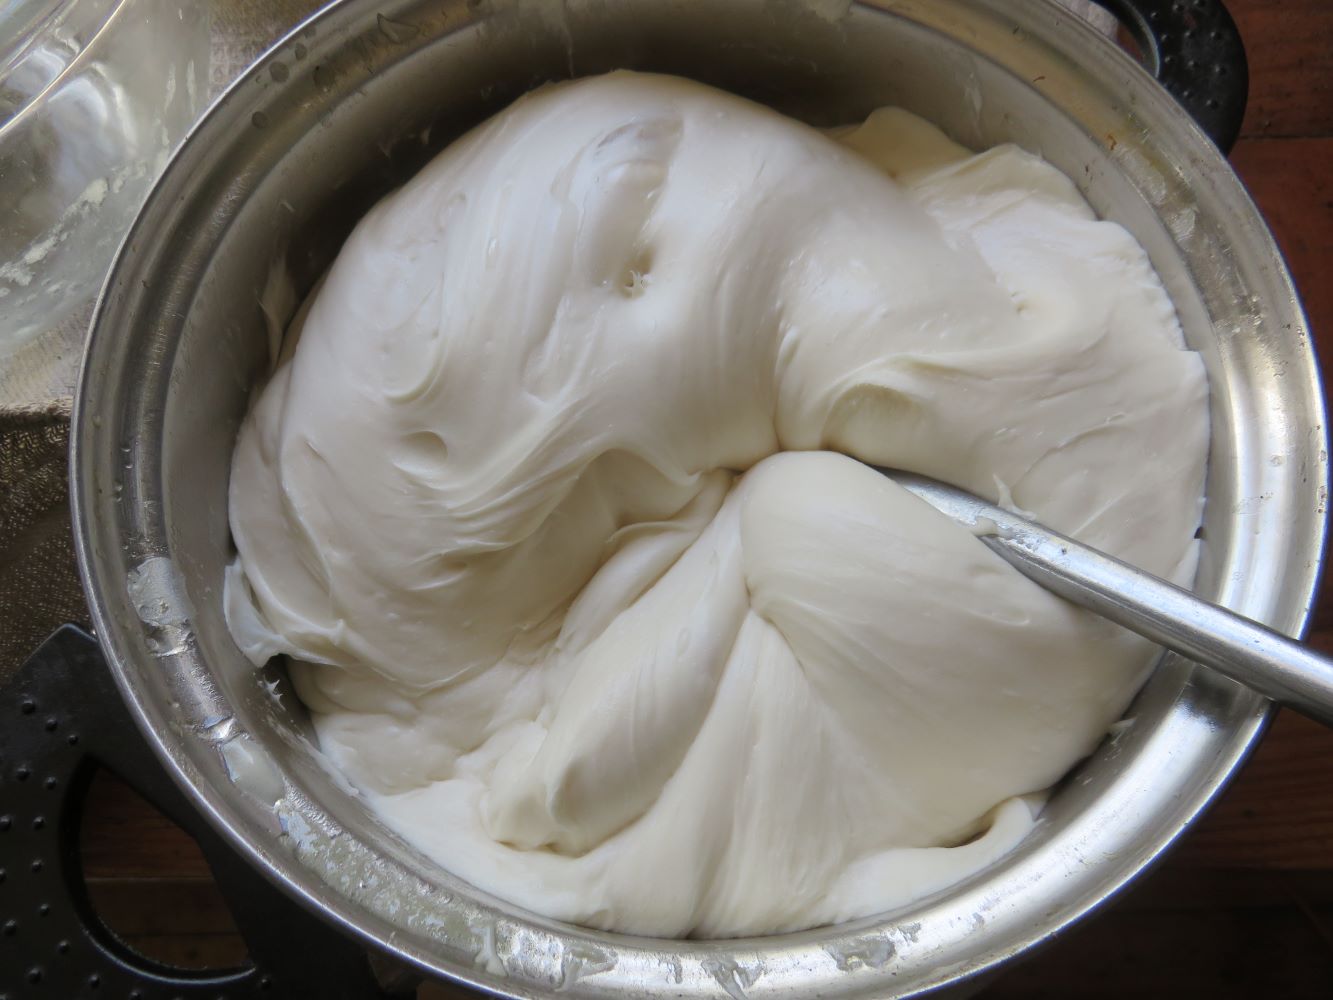 dough like 50 mins dough like 50 mins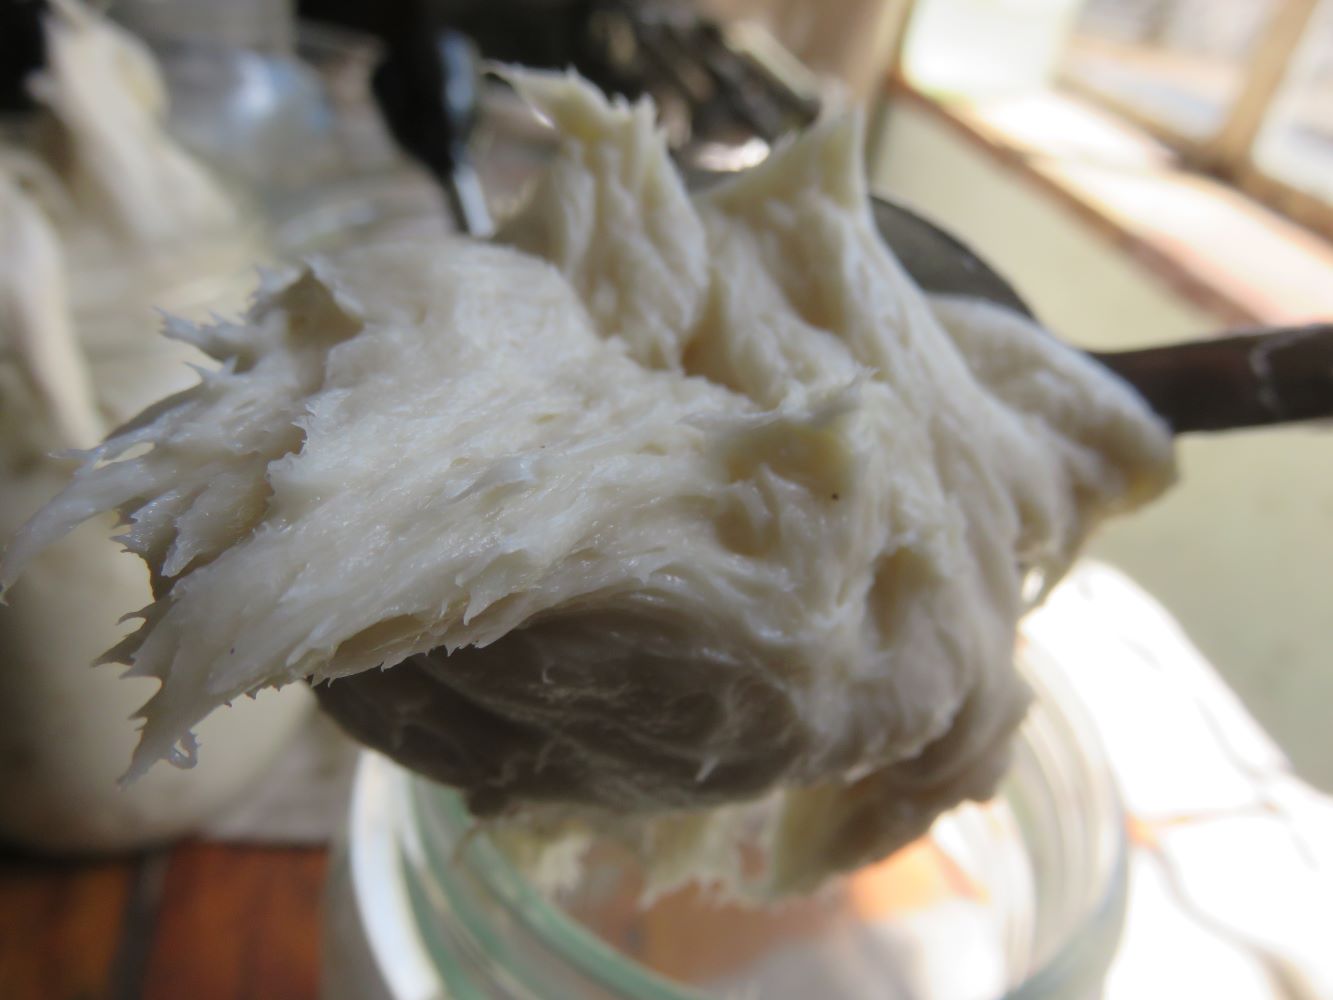 shred threads 90 mins shred threads 90 mins |
Thinning and using the soap
The soap body that I could not get into the storage jar I put in a second jar and added boiling water. If you add too much it separates out. I think a relation closer to 50/50 rather than the 20/1 ratio I used would be better, but I haven't worked out the exact mix. I washed all the equipment with its small traces of soap, and my dirty dishes together. Perhaps it was a few crumbs of raw KOH that did the trick, but the stripping power of the soap was phenomenal. It shone up my dull glassware and metal pots and did this with a minimum of scrubbing. I find this cleaning power wears off with time.
I use the liquid soap in the dispenser for doing the dishes and the laundry, in a washing machine. It doesn't foam a lot and cause problems there. Using the 20:1 mix I pump about 10 to twenty squirts into the washing machine.
The potash soap recipe
The recipe here is a blend of one I got from Guerilla House, some online sources I don't remember, and my own experience. Guerilla House has made a lot of soap. I've only done two batches of potash soap.
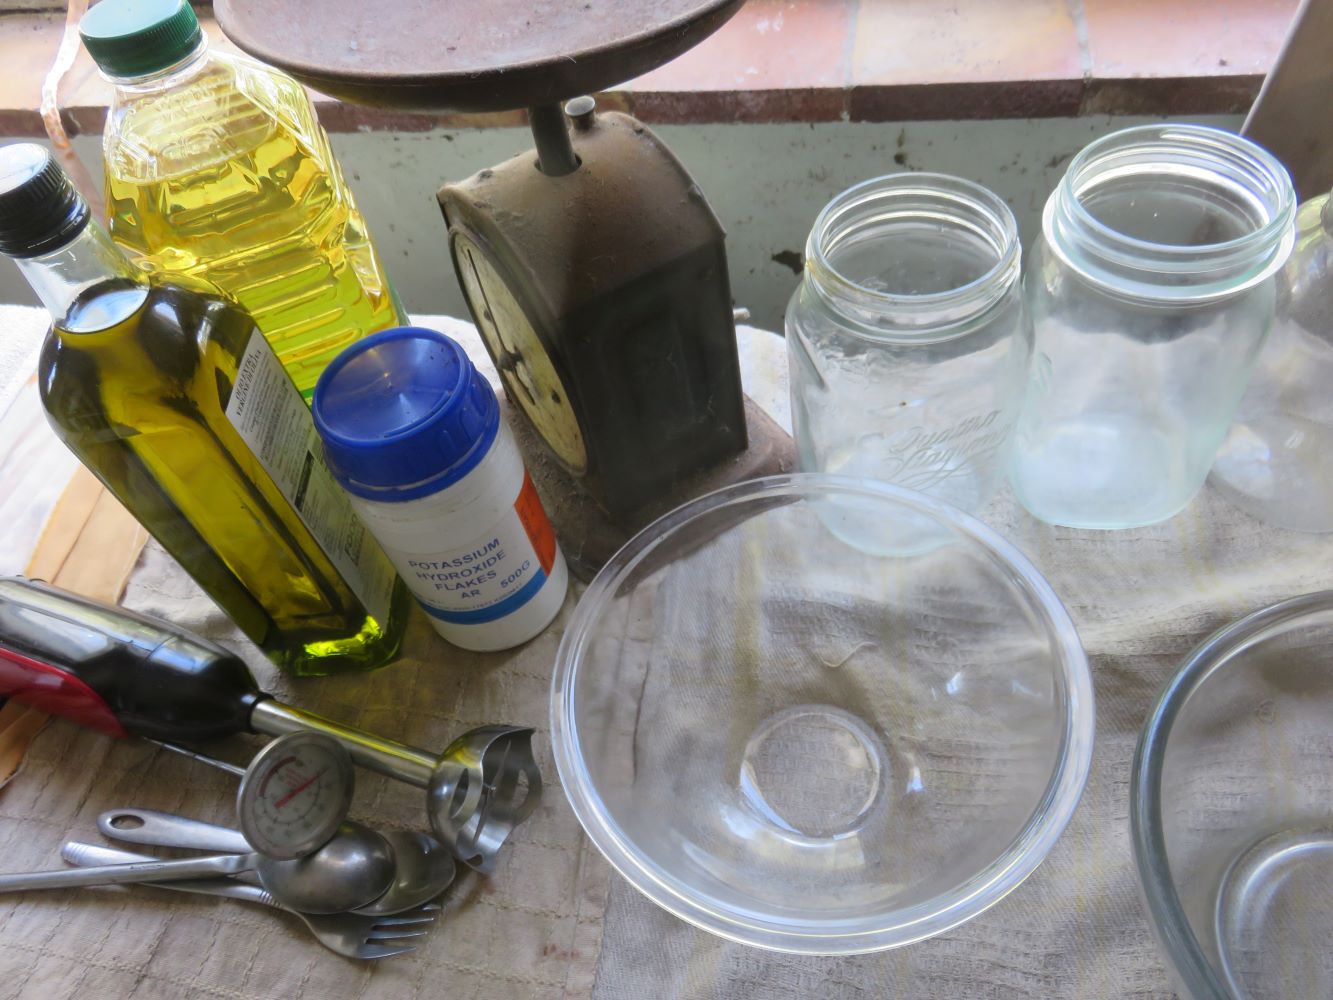
Ingredients
150g coconut fat
100g olive oil
250g purified sunflower oil
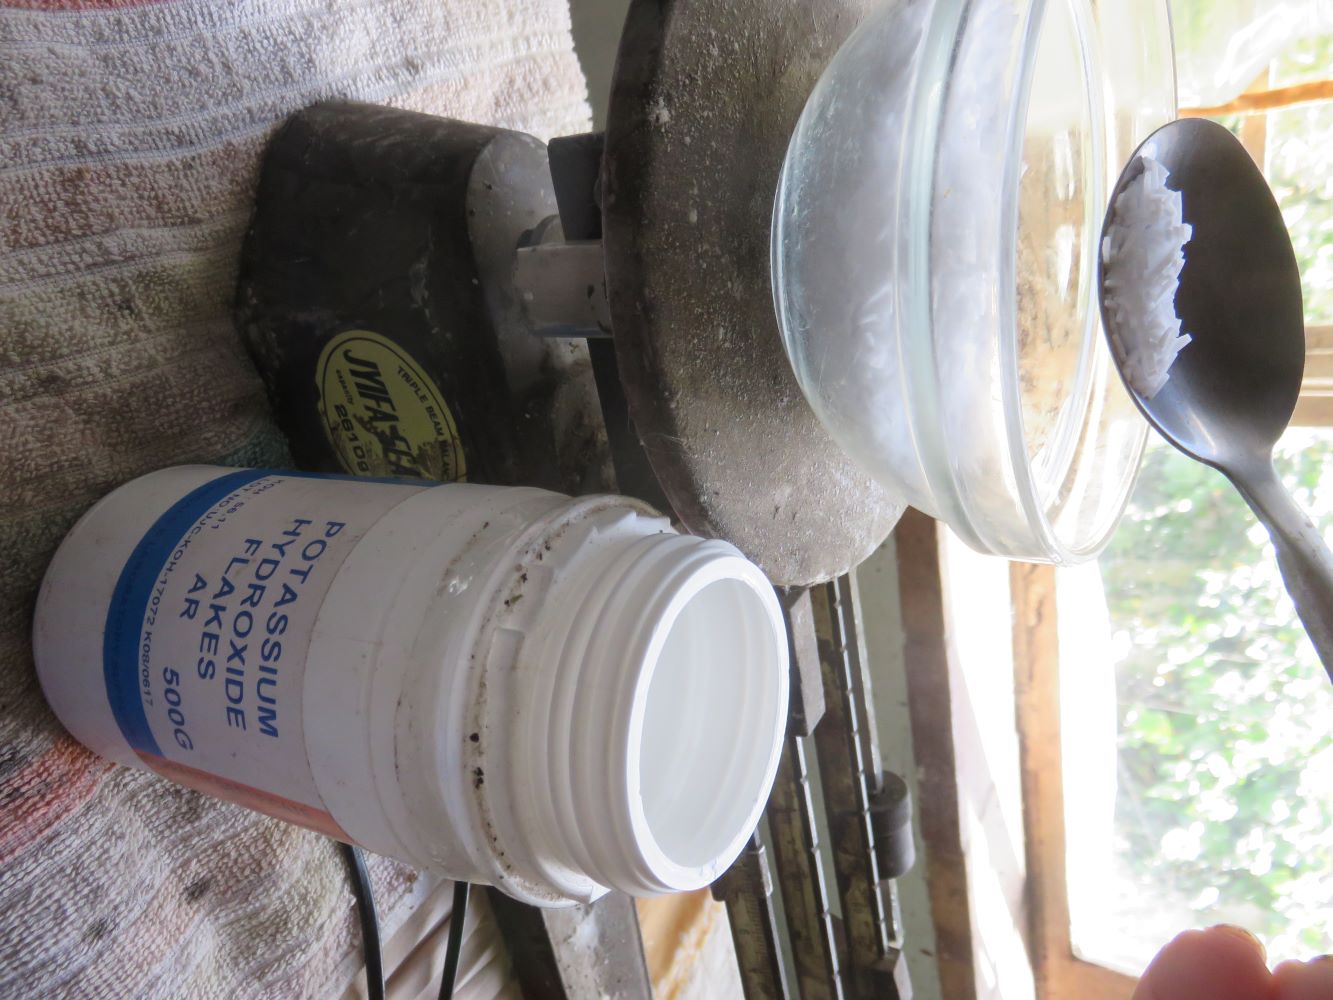
104 g Caustic potash or KOH crystals (bought from a chemical supply company in the industrial area). The first time I used 121 g of potash according to the recipe, but this time I used 104 g using the blackberry soap calculator.
400 g water
perfume optional, I prefer none.
Update on the recipe
i have replaced part of the pure KOH with lye made from wood ash. Wood ash gives a much weaker lye than crystaline KOH so calculating the quantities is not easy. I seem to remember replacing about 10% of the KOH with 400g of woodash lye (instead of water). My reasons for doing this were to enrich the soap with minerals as it is going into a grow bed. The upside is that my leaf vegetables grow very well. The down side is that it is so nutritious that the biofilms in the system are probably increased, there is black mold in the cracks around my dish washing area, and the dissolved ash has made my sheets terribly grubby and it doesn't wash out easily. I've had to resort to commercial detergents and copious amounts to get them clean again. I think in future I will only use woodash lye if it comes extremely clear from the filtering process. However all these negatives may not be due to the wood ash lye, I am only assuming it is the case.
I have replaced the expensive olive and coconut oil with old seed oil, rancid lard, and any other fat I could find. The result was that the rancid smell disappeared during cooking and the undiluted bulk soap lasted for years in a the large jar, so using old stale fats seems to be acceptable.
The time has come to make soap again, and its been years. I was so glad to find the recipe again on my own website. I will use no wood ash lye this time, but I have stored up 2 liters of old rancid oil.
Equipment
Well ventilated work area
Covered work surface if you don't want them to be damaged.
Goggles and gloves (I did not use these, my glasses and the bowl of vinegar water standing by I deemed sufficient, perhaps risky behaviour on my part)
1 glass bowl with water and vinegar
1 small glass or ceramic bowl
1 glass bowl to weigh the oils, if you are using a crock pot
3 wide mouth jars
1 smallish steel pot or ceramic crock pot
pump dispenser(s)
1 metal spoon
thermometer
stick blender
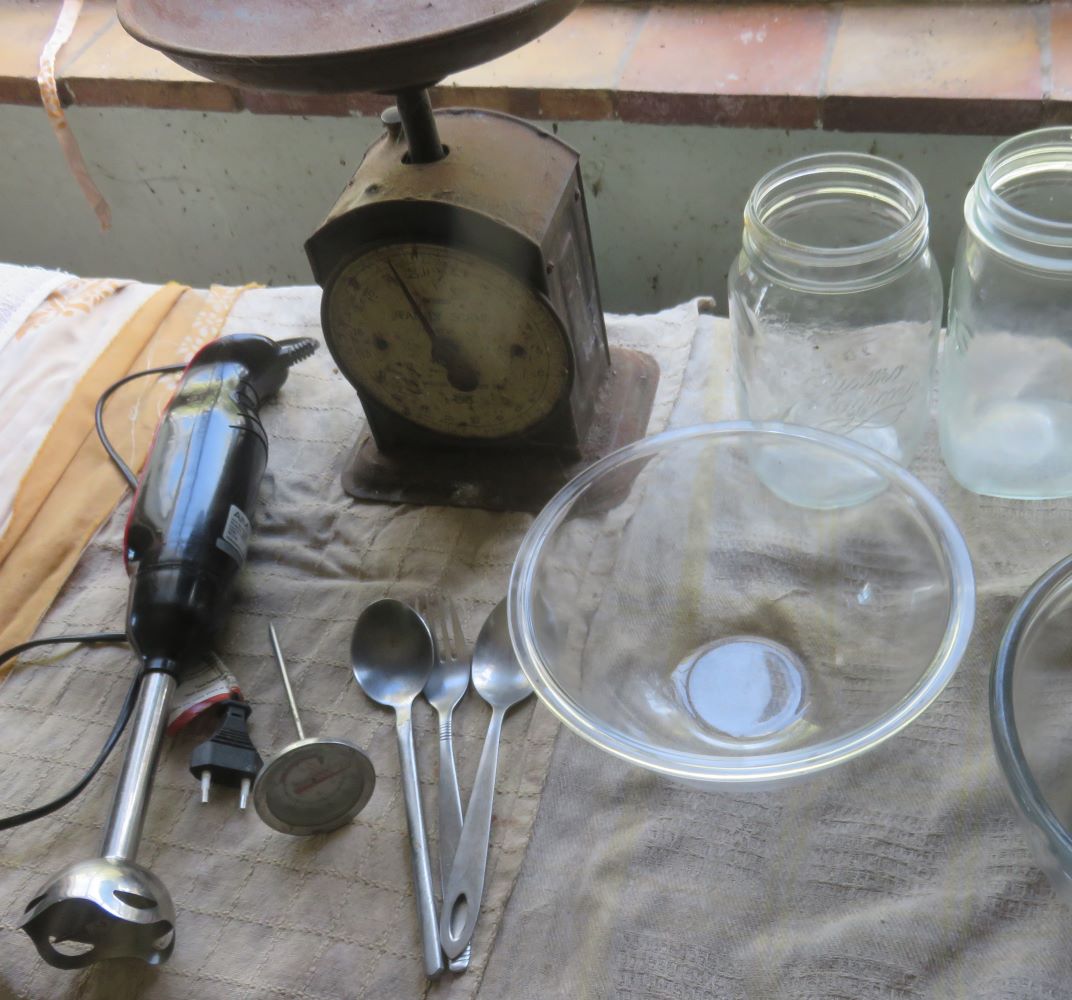
scale (I found the kitchen scale in the first pictures was not accurate enough by far and switched to a triple beam balance. You may have a nice accurate electric scale, all are fine)
 |
 |
Method
Make sure the area is well ventilated, I worked between two open windows.
I covered the varnished wood surface with cloths because last time the lye stained it permanently.
In small glass bowl, weigh 105 g of caustic potash
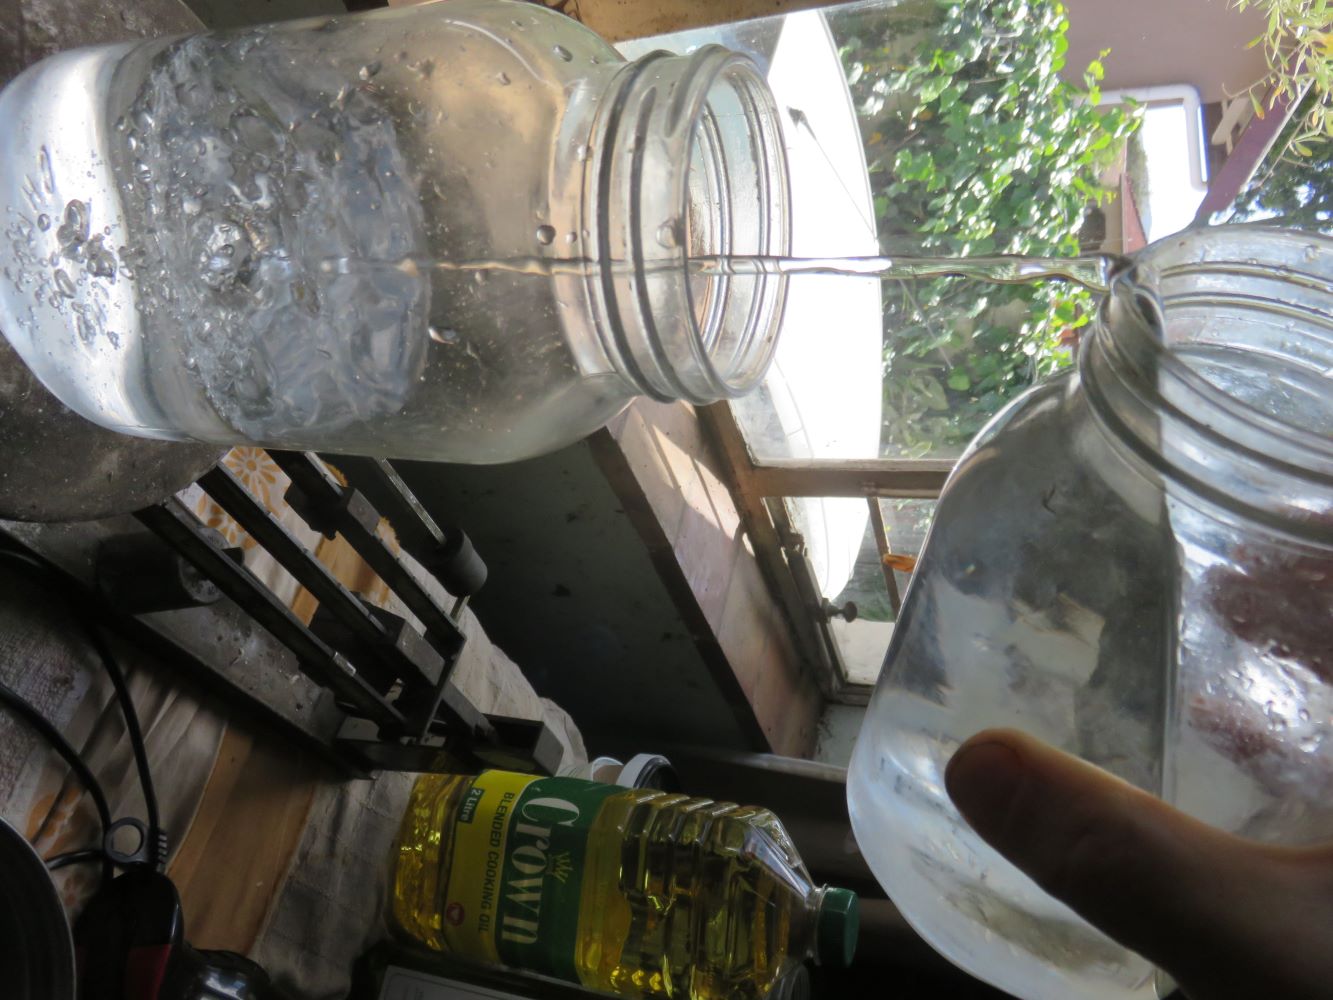
In a large wide-mouth jar, weigh 400 g of water
In the small steel pot, or in a glass bowl if you use a crock pot with a heavy inner pot, weigh the fat and oils: 150 g coconut, 100g olive and 250 g canola or other refined oil.
Heat the oils very gently to about 70 degrees C (you will see the coconut fat melting at this point)
Gently spoon the caustic potash crystals into the 400 g water, bit by bit, stirring as you go.
When the lye mix reaches 70 degrees, watch it and before it cools, add it to the fats. They lye and fat must be within 15 degrees of each other. You can cool one of them by adding an ice block if needed.
Pour the lye into the fat gradually, stirring as you go.
When they are thoroughly mixed, use the stick blender for 20 seconds, then stirr for 20 seconds and continue for a very very long time. I found that the mix also stayed at 70 degrees for a long time, needing warming only every ten minutes or so.
Abandon the stick blender when the soap becomes too stiff for it to be effective anymore.
After the soap has set, it will keep well in a jar at room temperature.
The stiff soap mix must be blended with water to use it. This reduces the shelf life, so do it a little at a time as you need more liquid soap. The recipe recommends thinning the stiff mixture with water in a 6:10 relationship and letting it stand overnight. The next day the thin mix can be thinned some more with boiling water if you want it runnier, and perfume can be added.
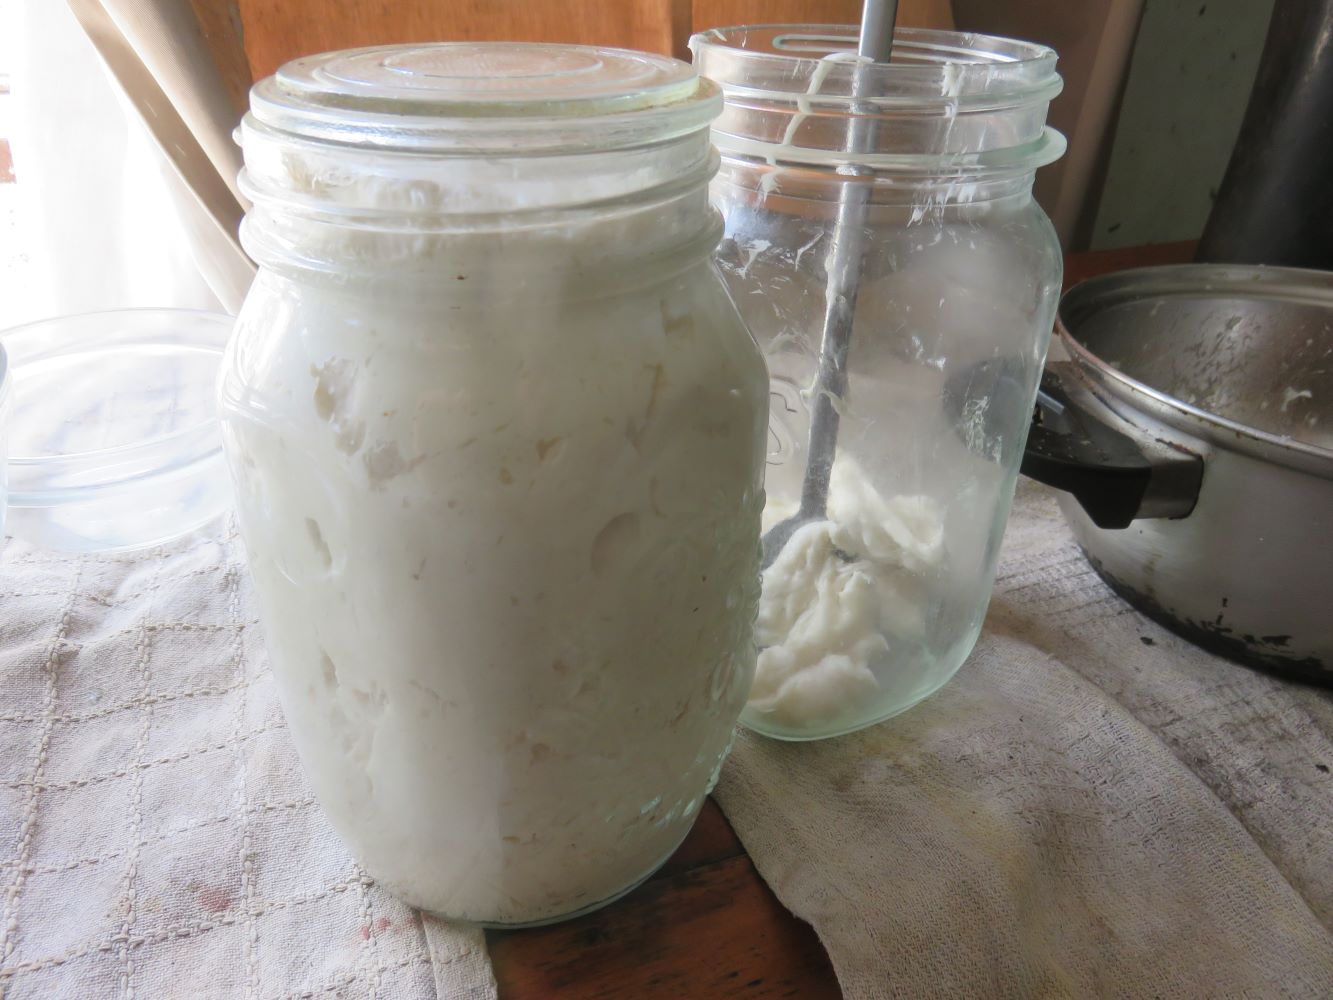 one spoon into a jar one spoon into a jar |
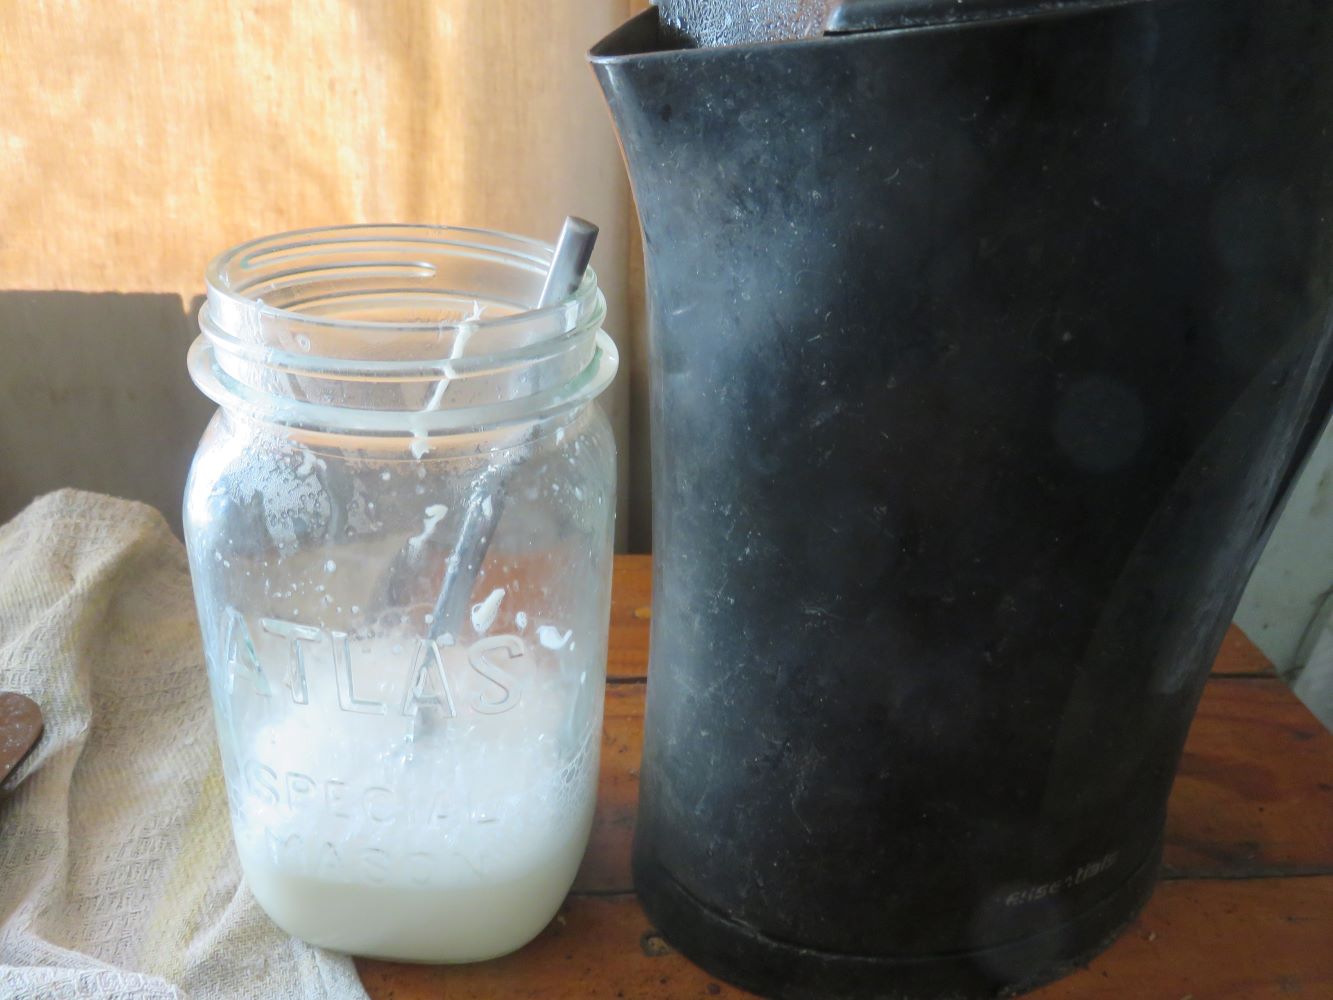 add boiling water add boiling water |
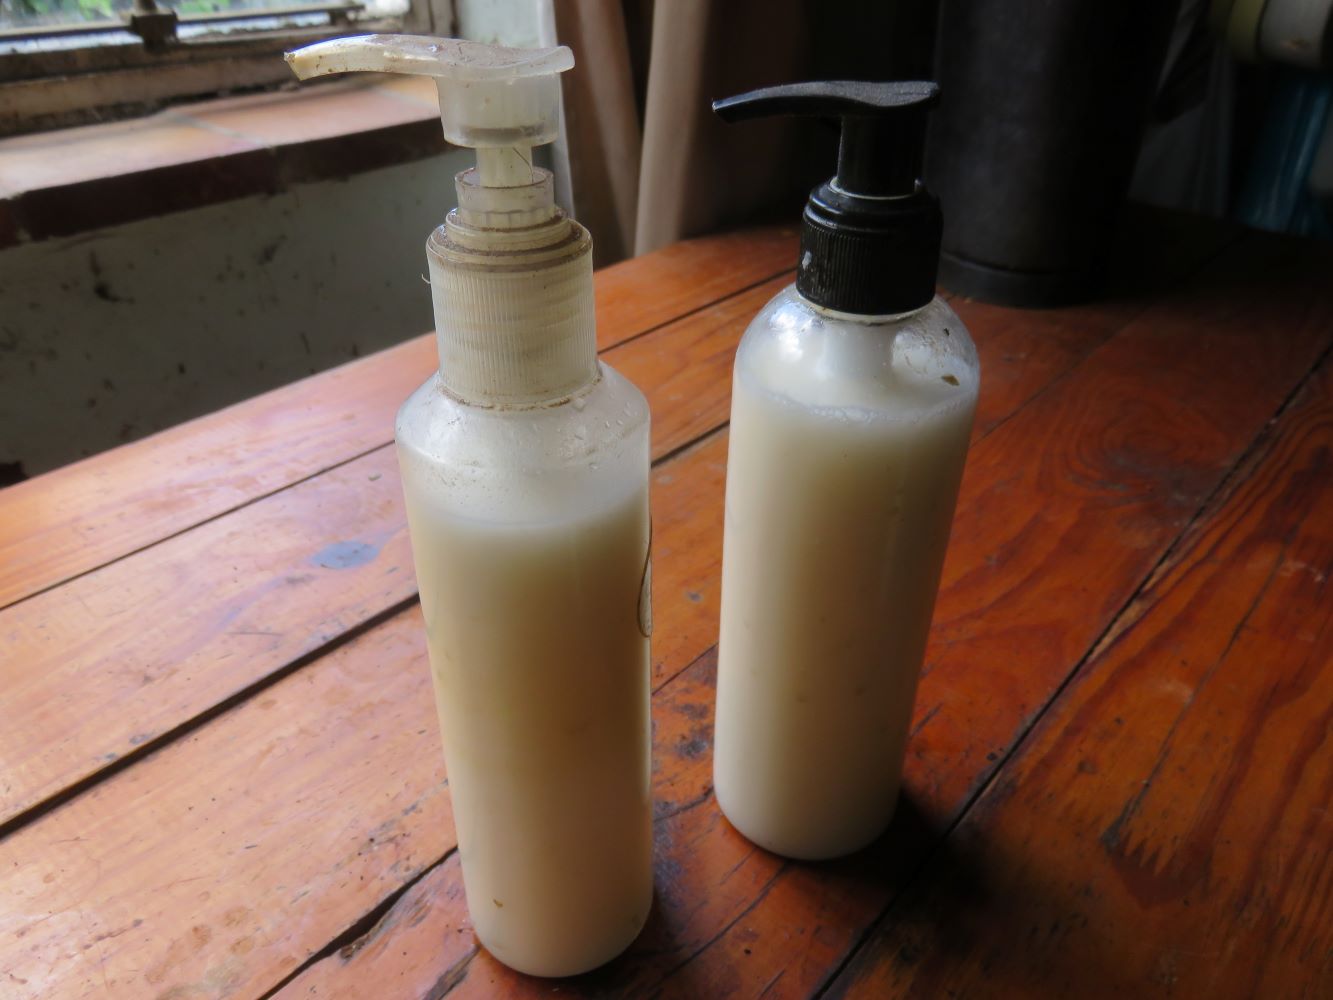 After one day, fill dispensers with liquid potash soap
------
home page for links to many topics that help a regenerative gardener
------
saving water, and my grey water recycling systems
Restore Nature Newsletter
I've been writing for four years now and I would love to hear from you
Please let me know if you have any questions, comments or stories to share on gardening, permaculture, regenerative agriculture, food forests, natural gardening, do nothing gardening, observations about pests and diseases, foraging, dealing with and using weeds constructively, composting and going offgrid.
What Other Visitors Have Said
Click below to see contributions from other visitors to this page...
Agronomist 


I think potassium has little, if any, effect on algal blooms, as opposed to nitrogen and phosphorus, the N & P of N-P-K.
SEARCH
Order the Kindle E-book for the SPECIAL PRICE of only
Prices valid till 30.09.2023
Recent Articles
-
garden for life is a blog about saving the earth one garden at a time
Apr 18, 25 01:18 PM
The garden for life blog has short articles on gardening for biodiversity with native plants and regenerating soil for climate amelioration and nutritious food -
Cape Flats Sand Fynbos, Cape Town's most endangered native vegetation!
Apr 18, 25 10:36 AM
Cape Flats Sand Fynbos, a vegetation type found in the super diverse Cape Fynbos region is threatened by Cape Town's urban development and invasive alien plants -
Geography Research Task
Jan 31, 25 11:37 PM
To whom it may concern My name is Tanyaradzwa Madziwa and I am a matric student at Springfield Convent School. As part of our geography syllabus for this
"How to start a profitable worm business on a shoestring budget
Order a printed copy from "Amazon" at the SPECIAL PRICE of only
or a digital version from the "Kindle" store at the SPECIAL PRICE of only
Prices valid till 30.09.2023
